Modeling & Materials
Weekly Design Challenge Template
Zheyao Li
Weekly formstorming for DESN 27425 — Interaction Design: Modeling and Materials. Objects studied, rebuilt in 3D, and what went wrong along the way.
Module 1
Object selection and first steps in 3D. I chose Blender — free, runs on my own machine, and the most beginner tutorials to work from.
Design Challenge 1 — Object Selection and Intro to Modeling
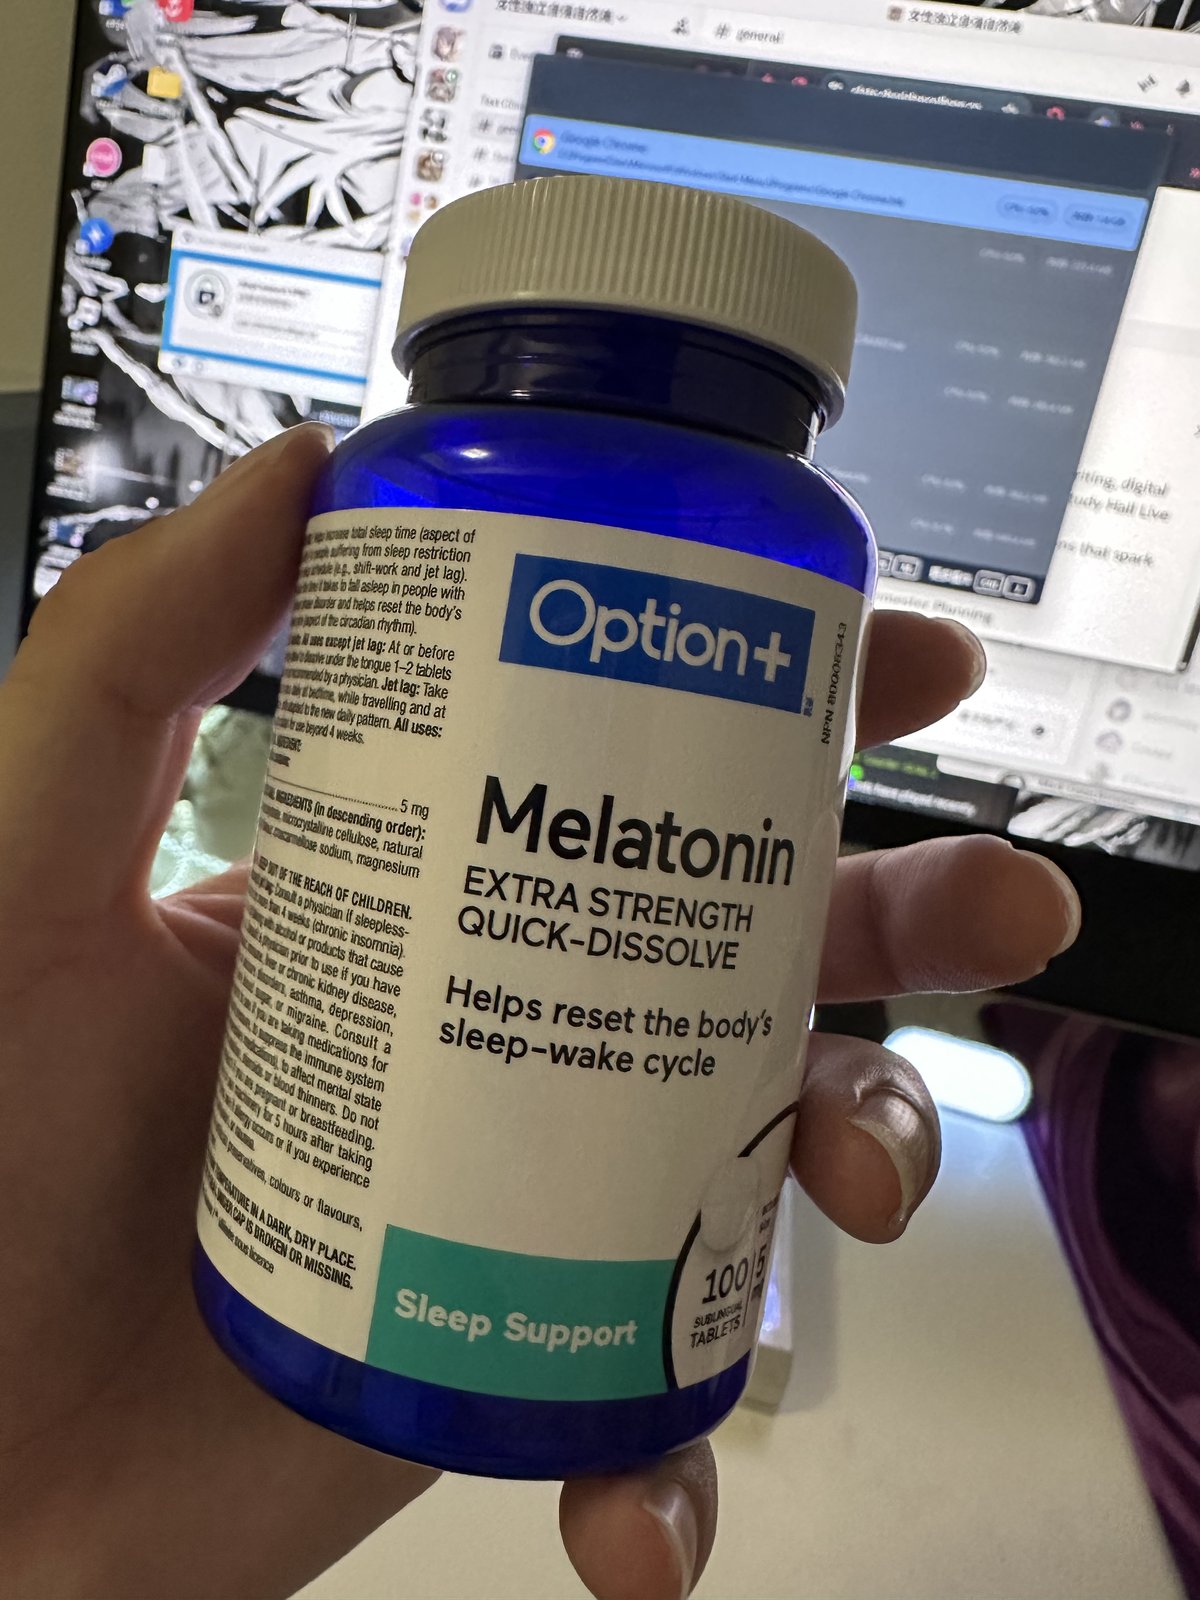
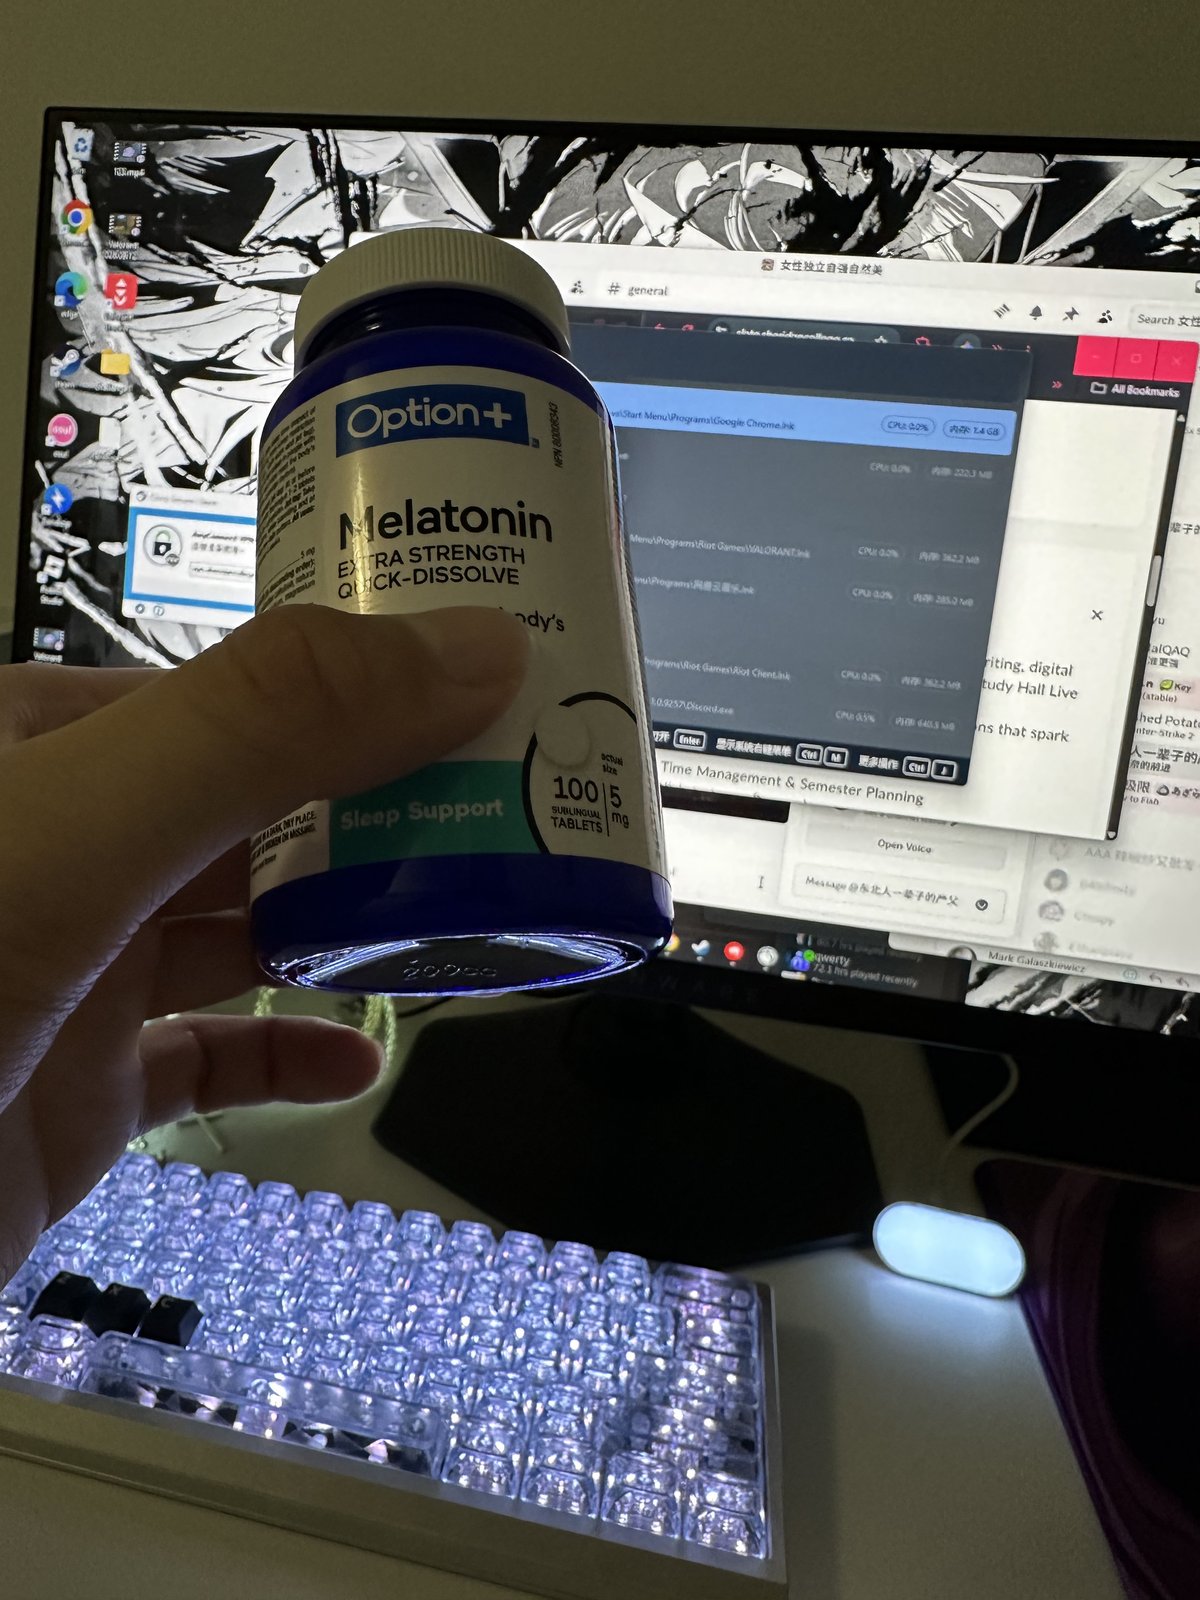
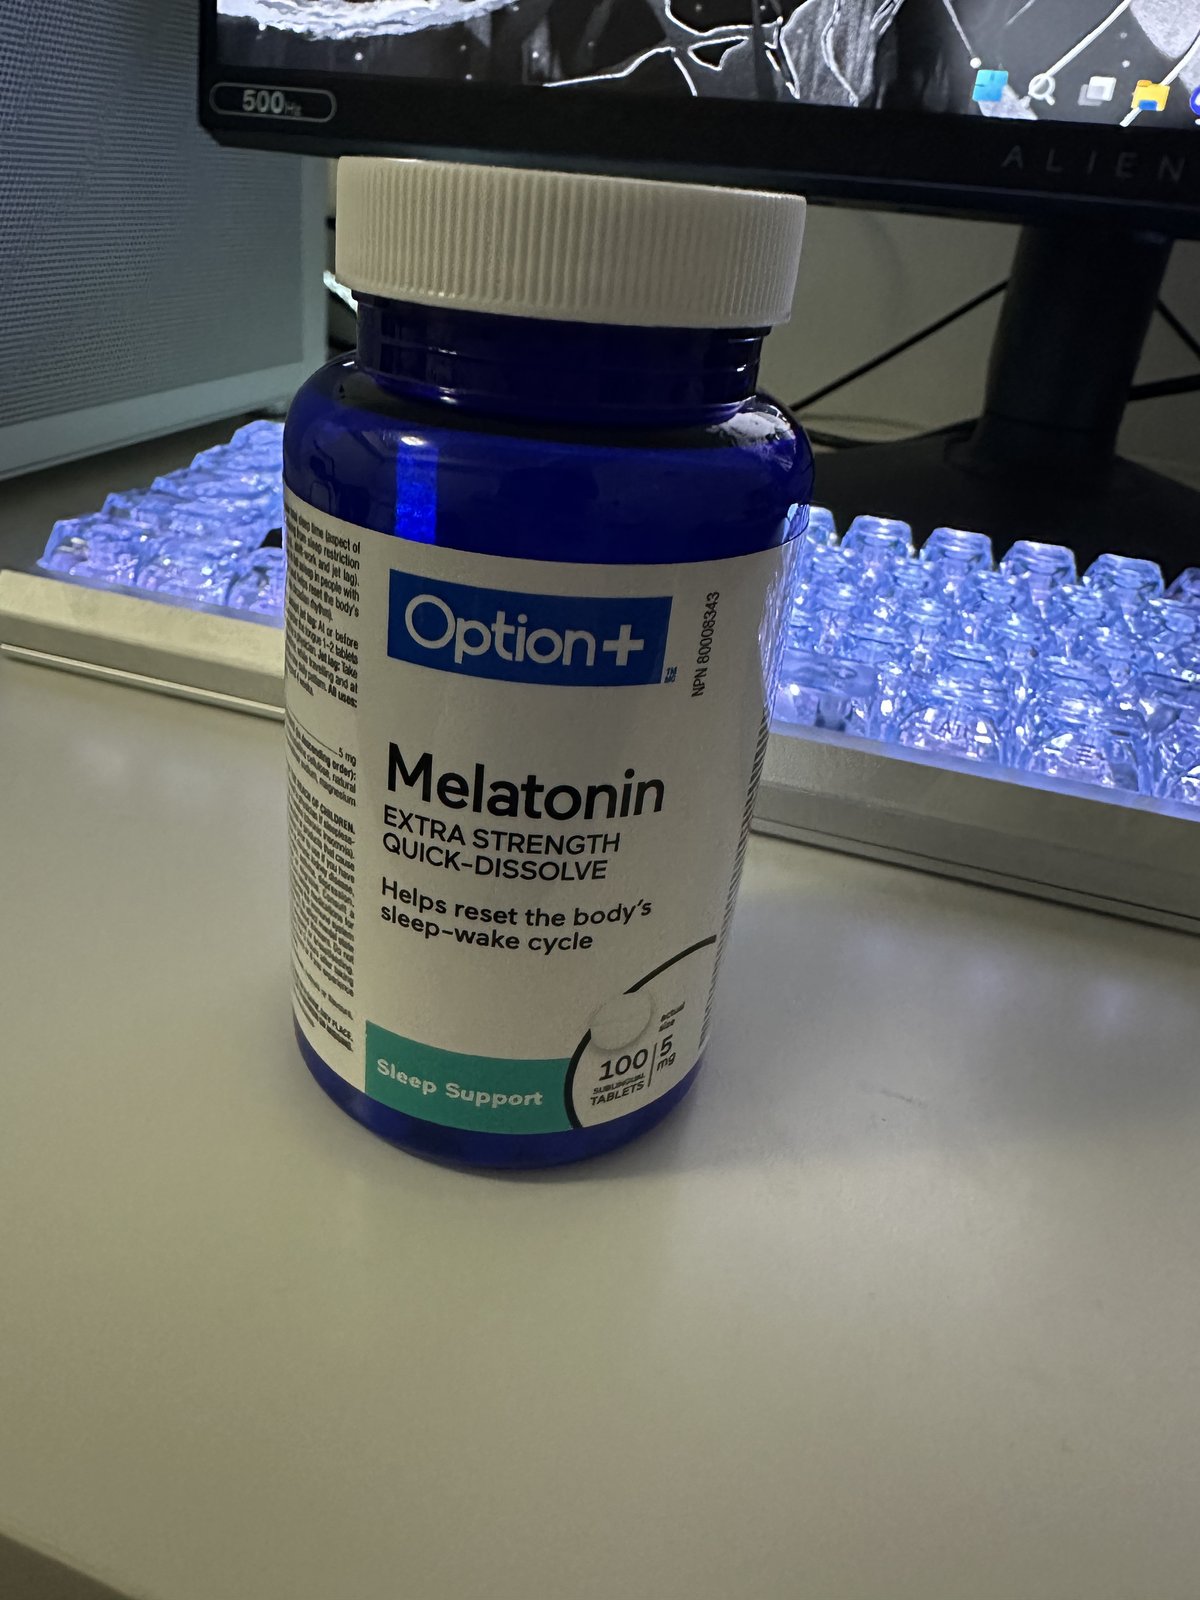
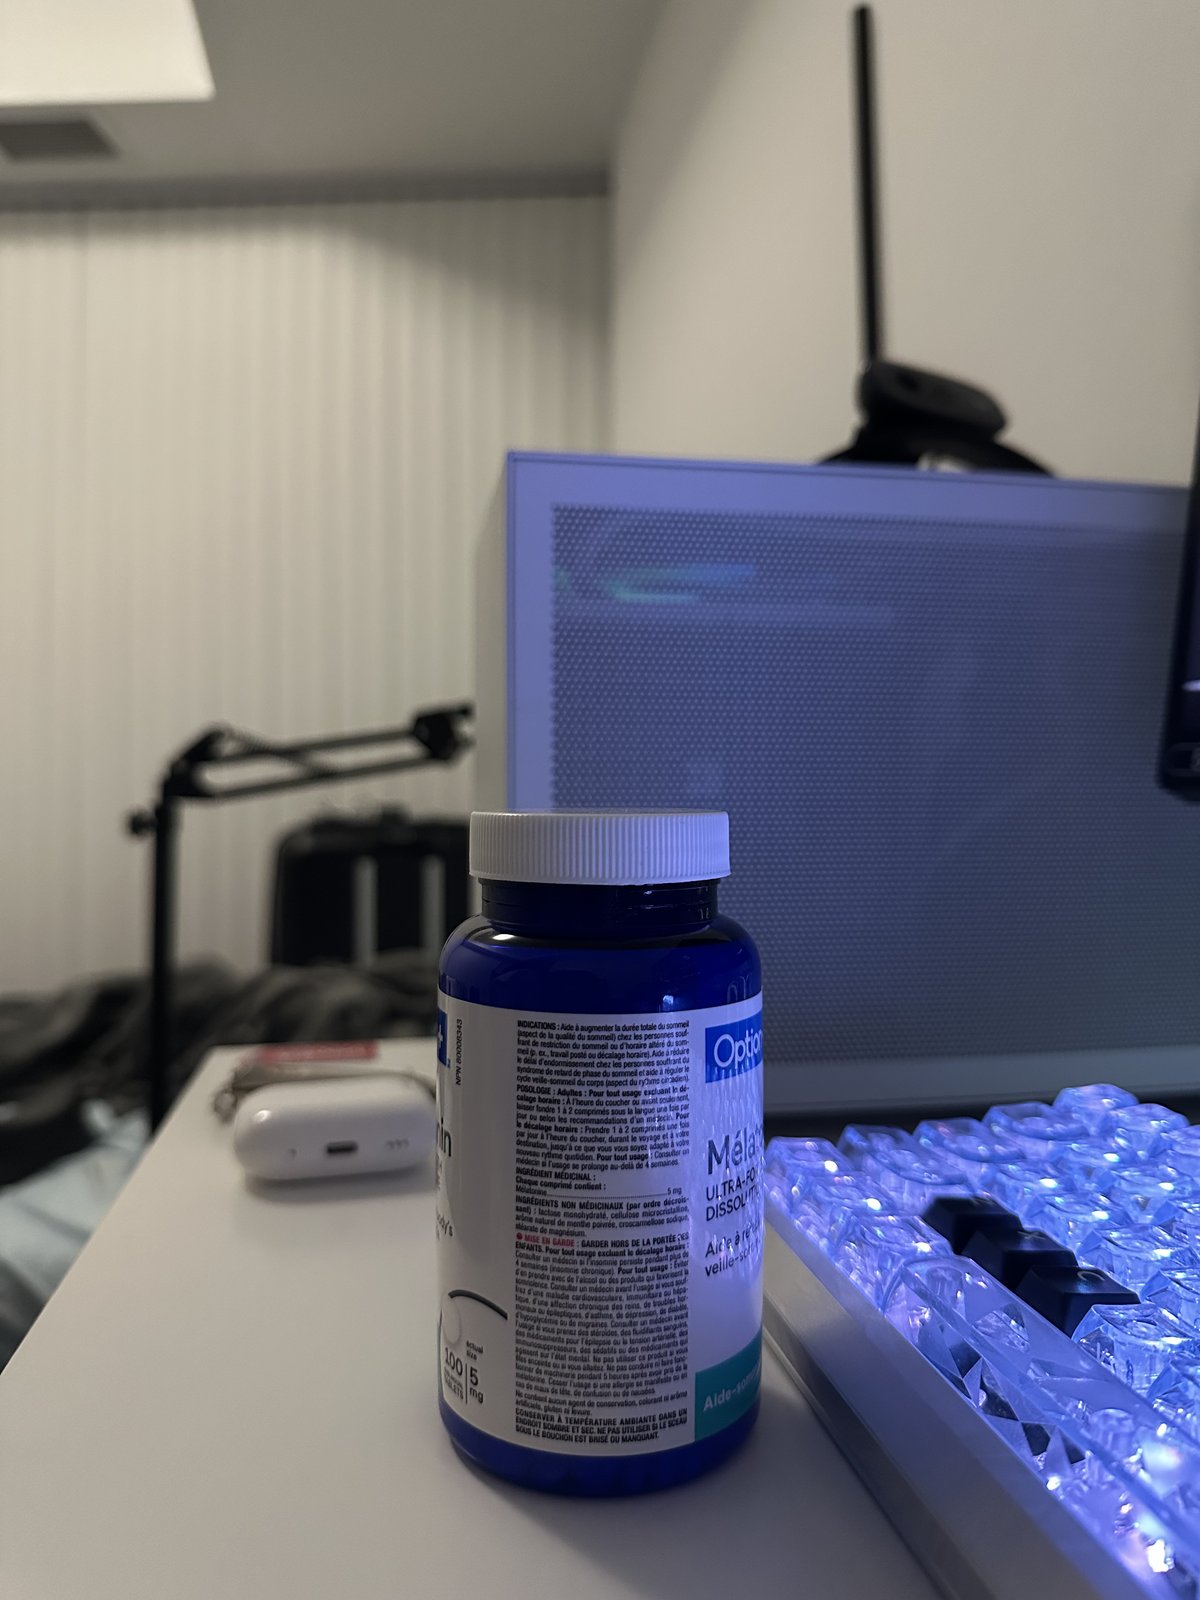
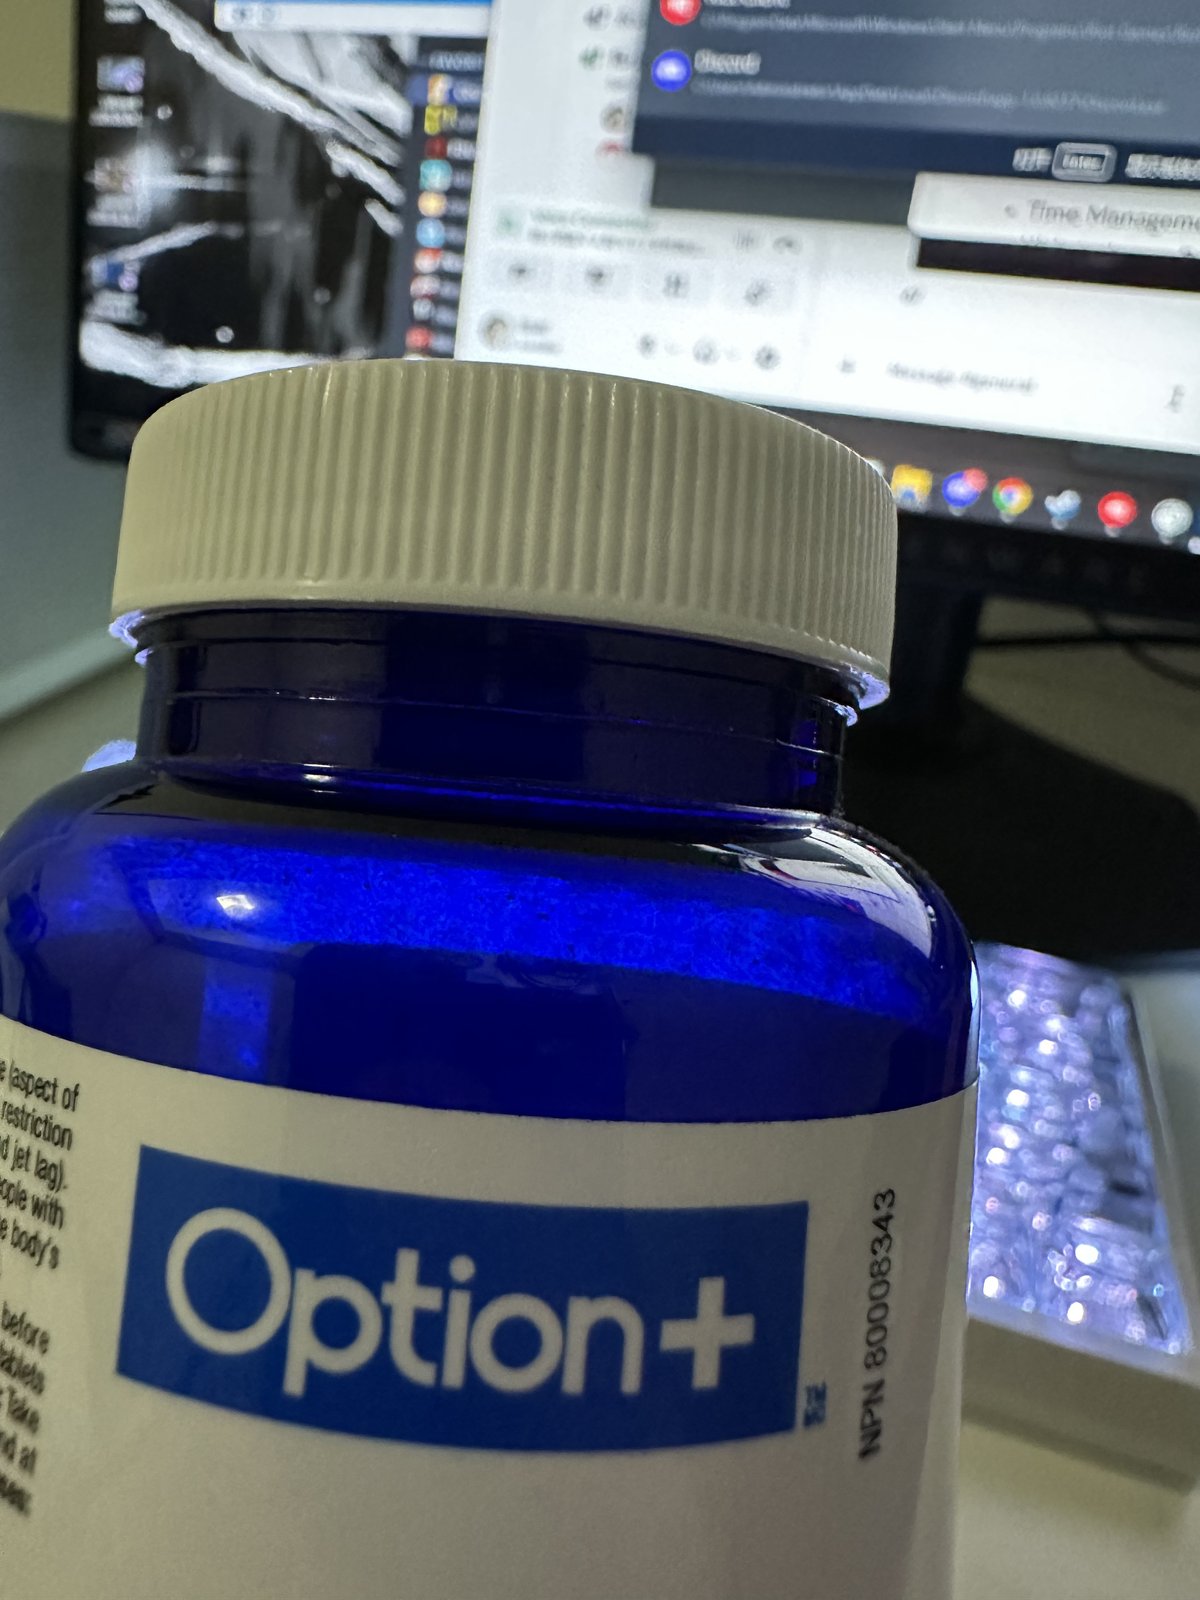
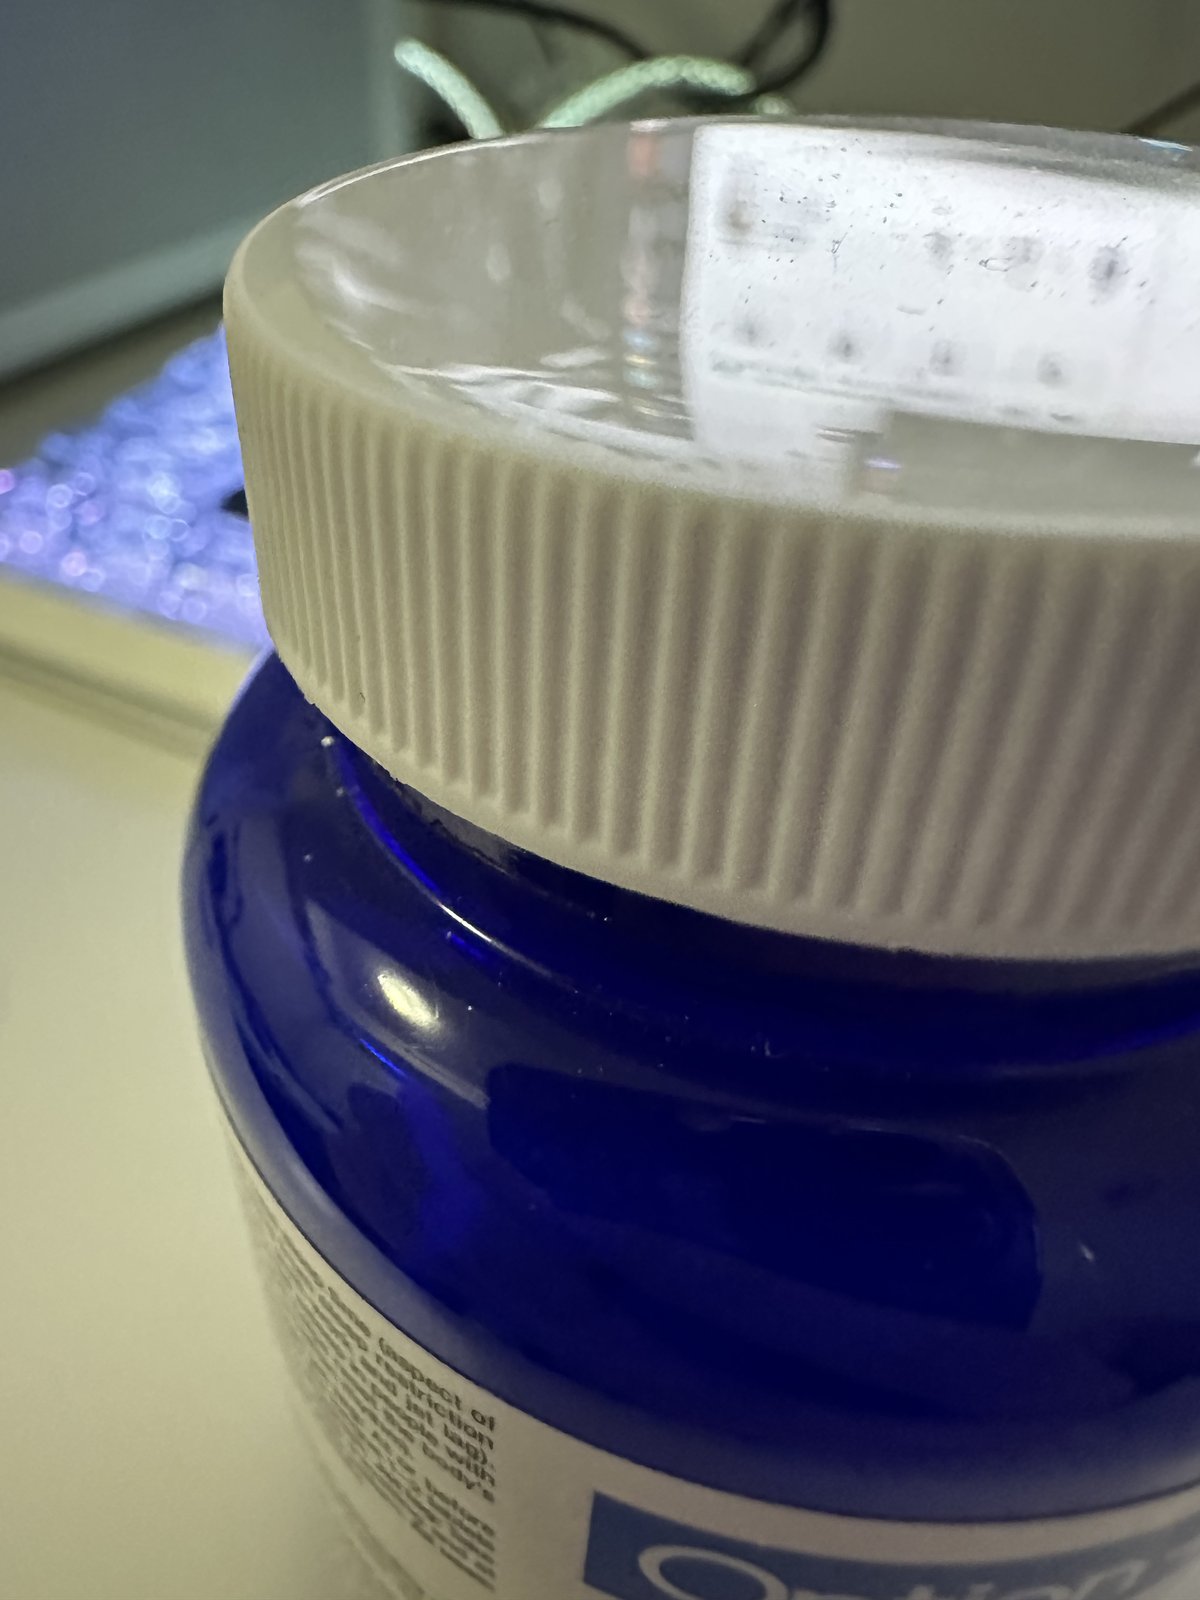
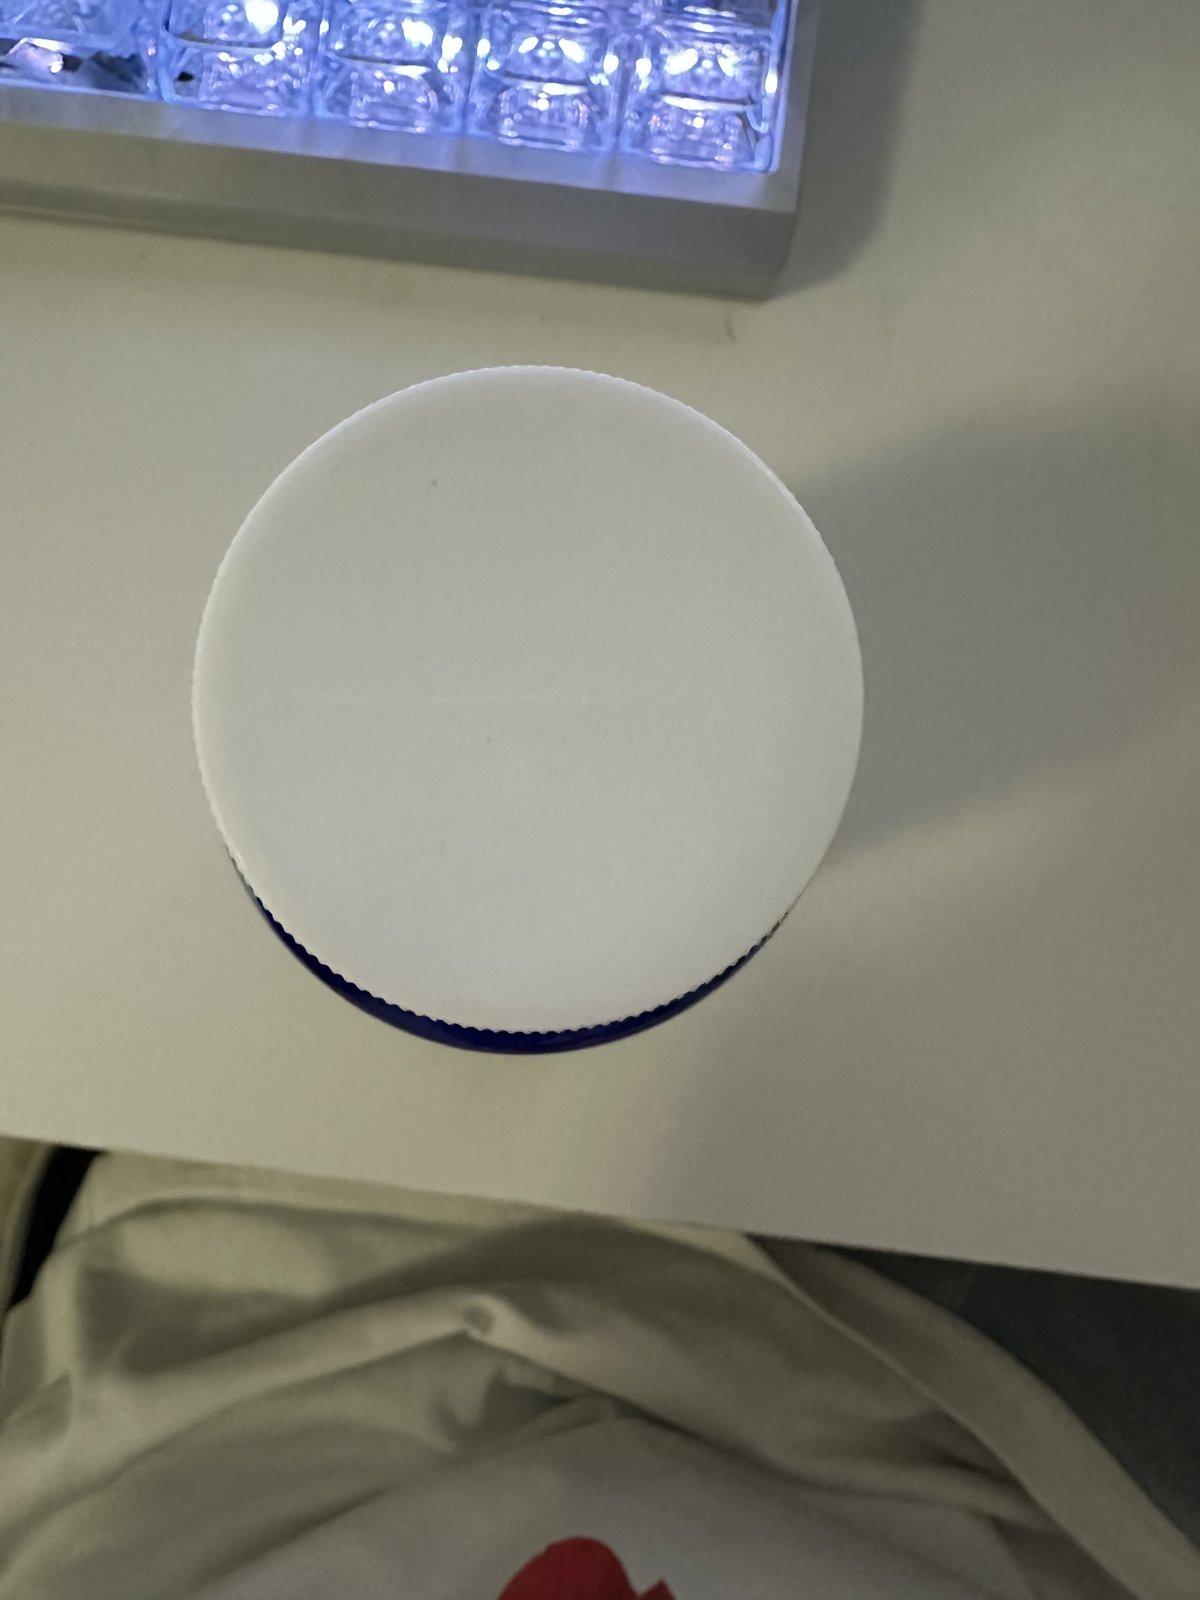
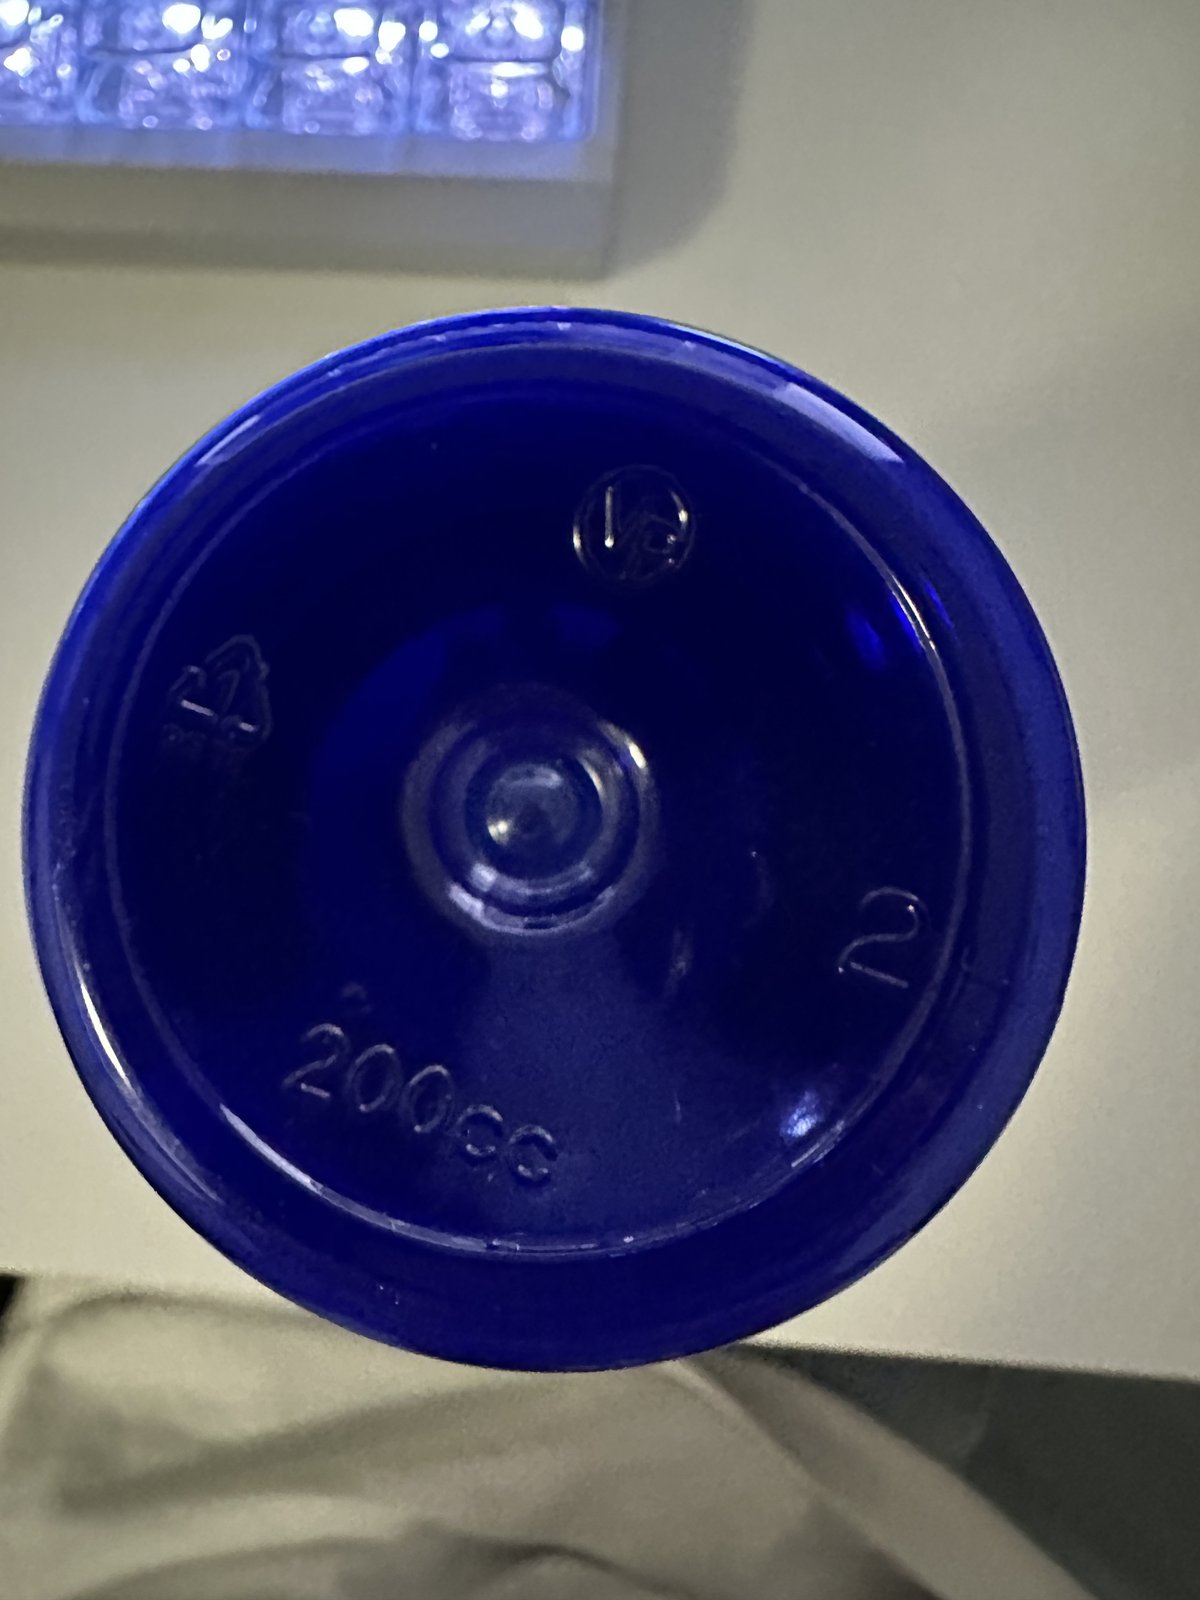
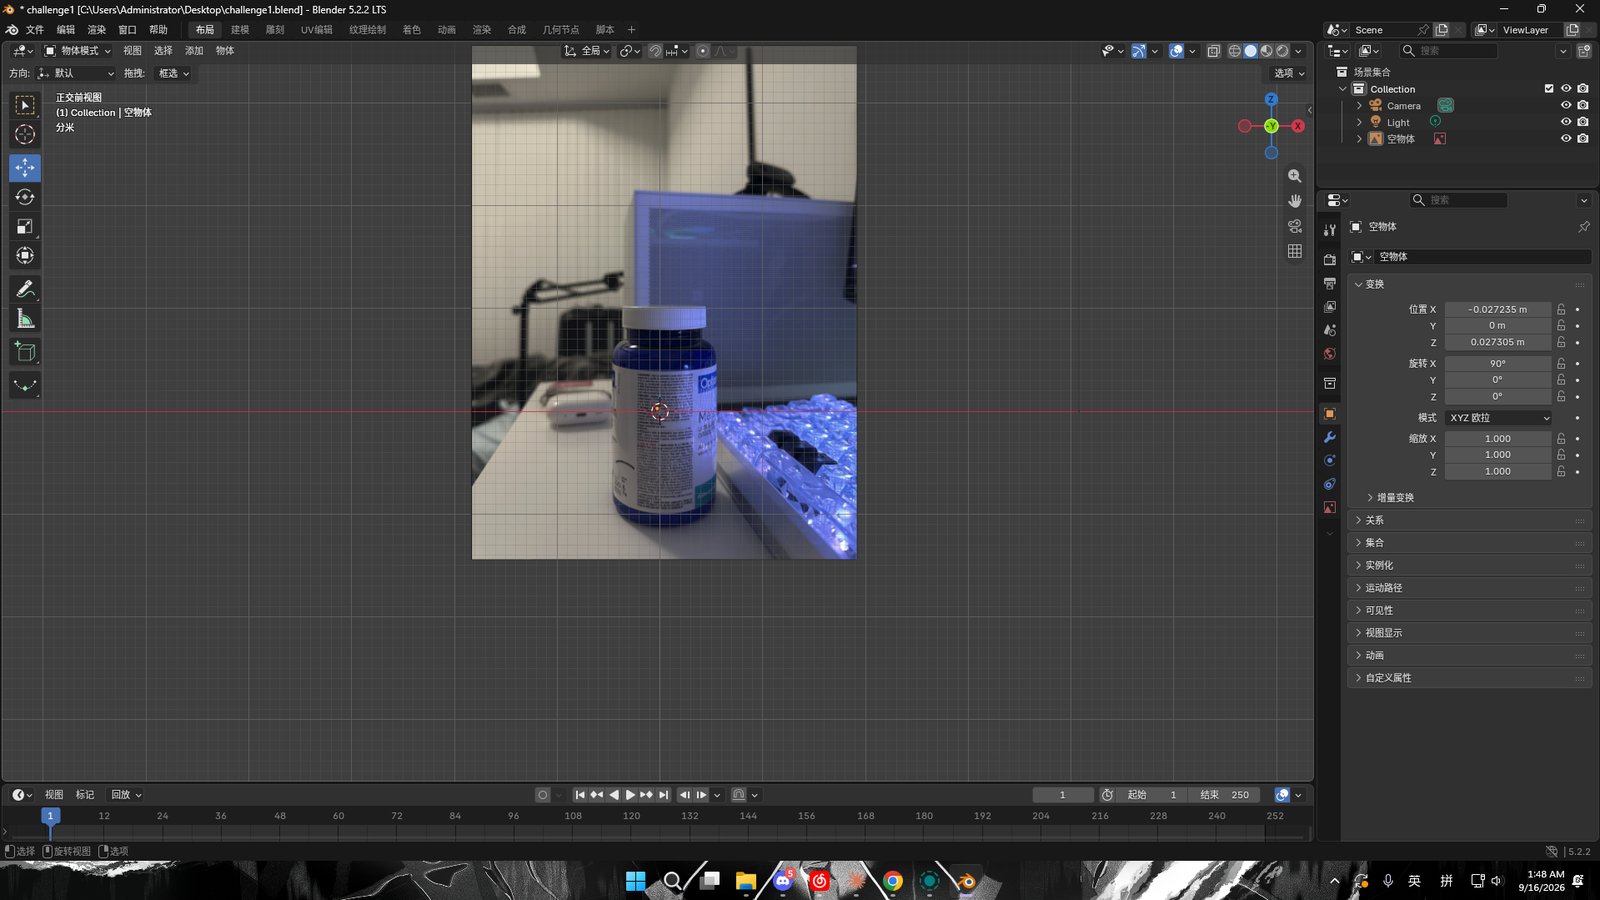
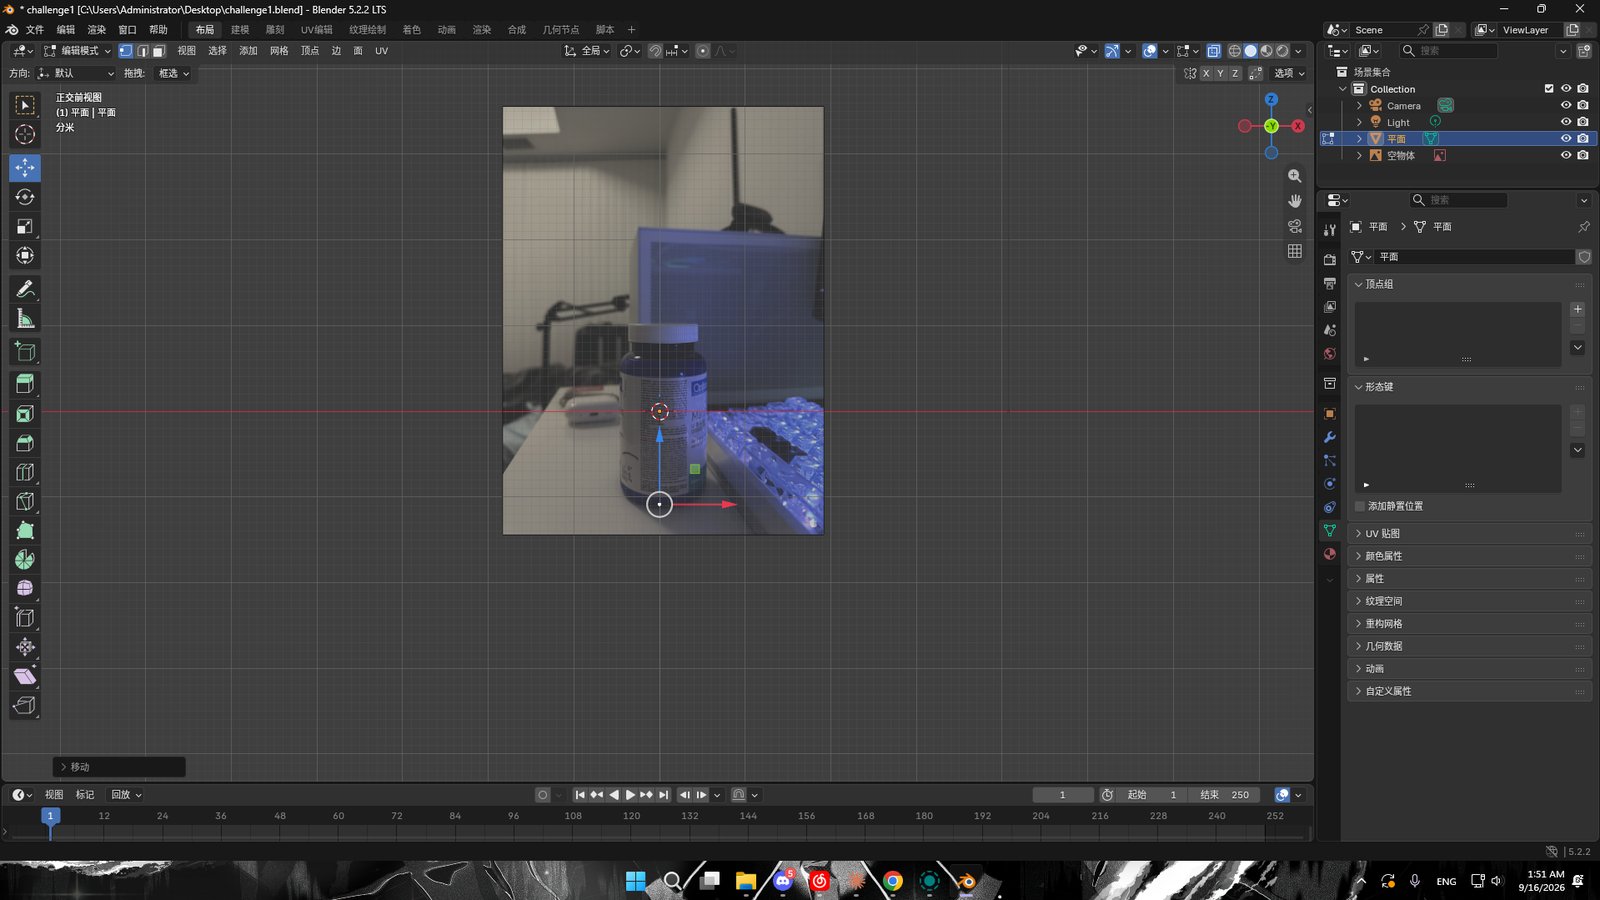
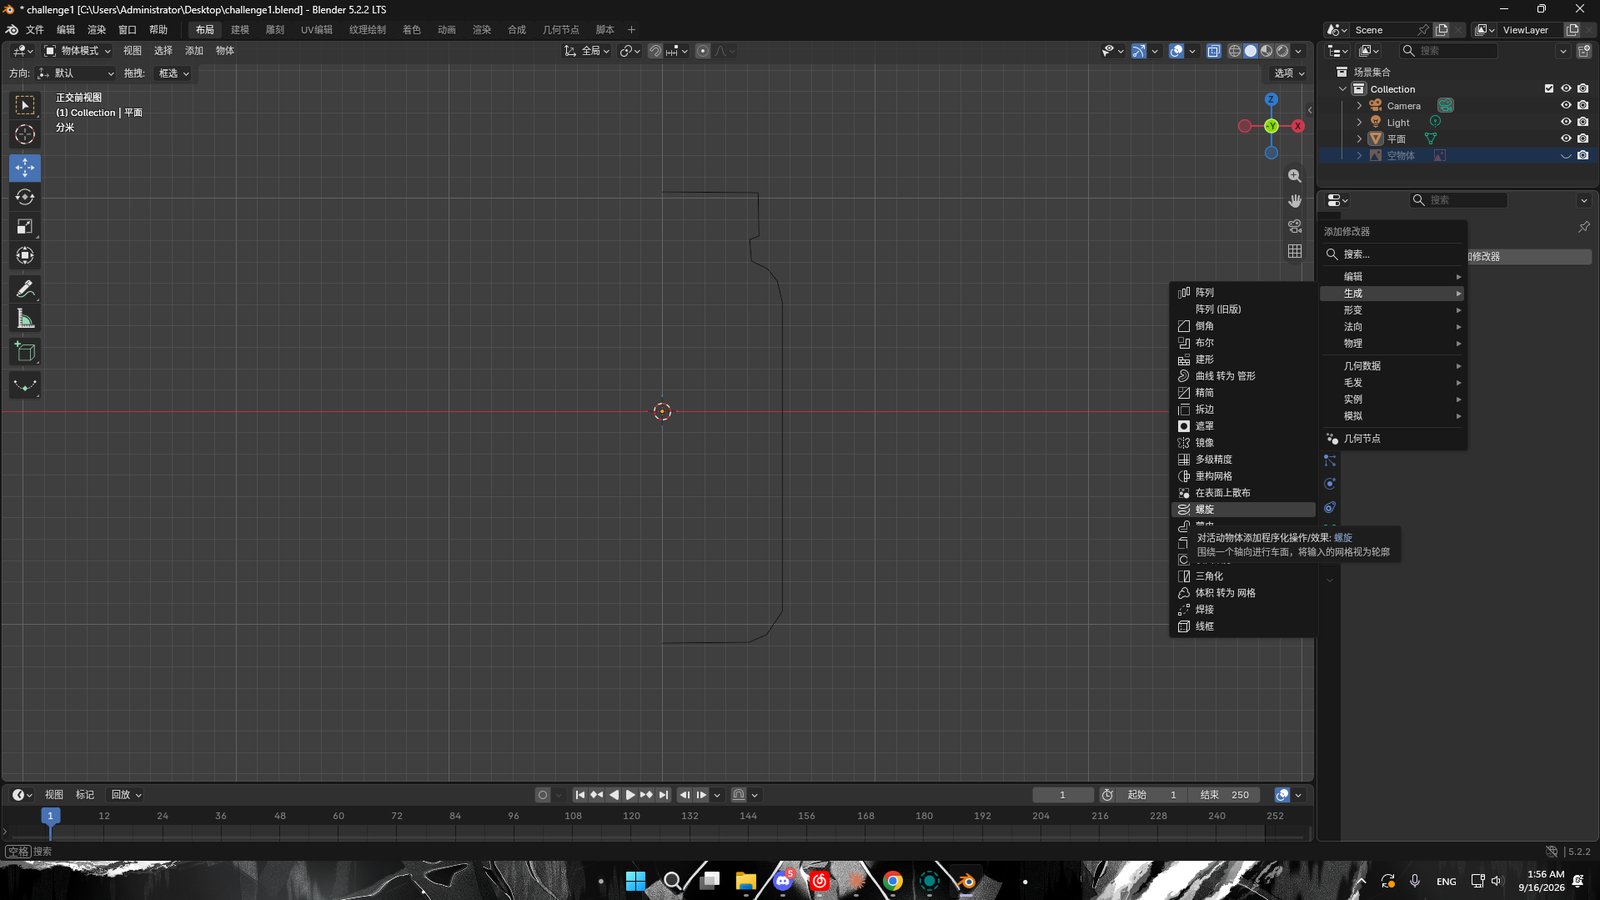
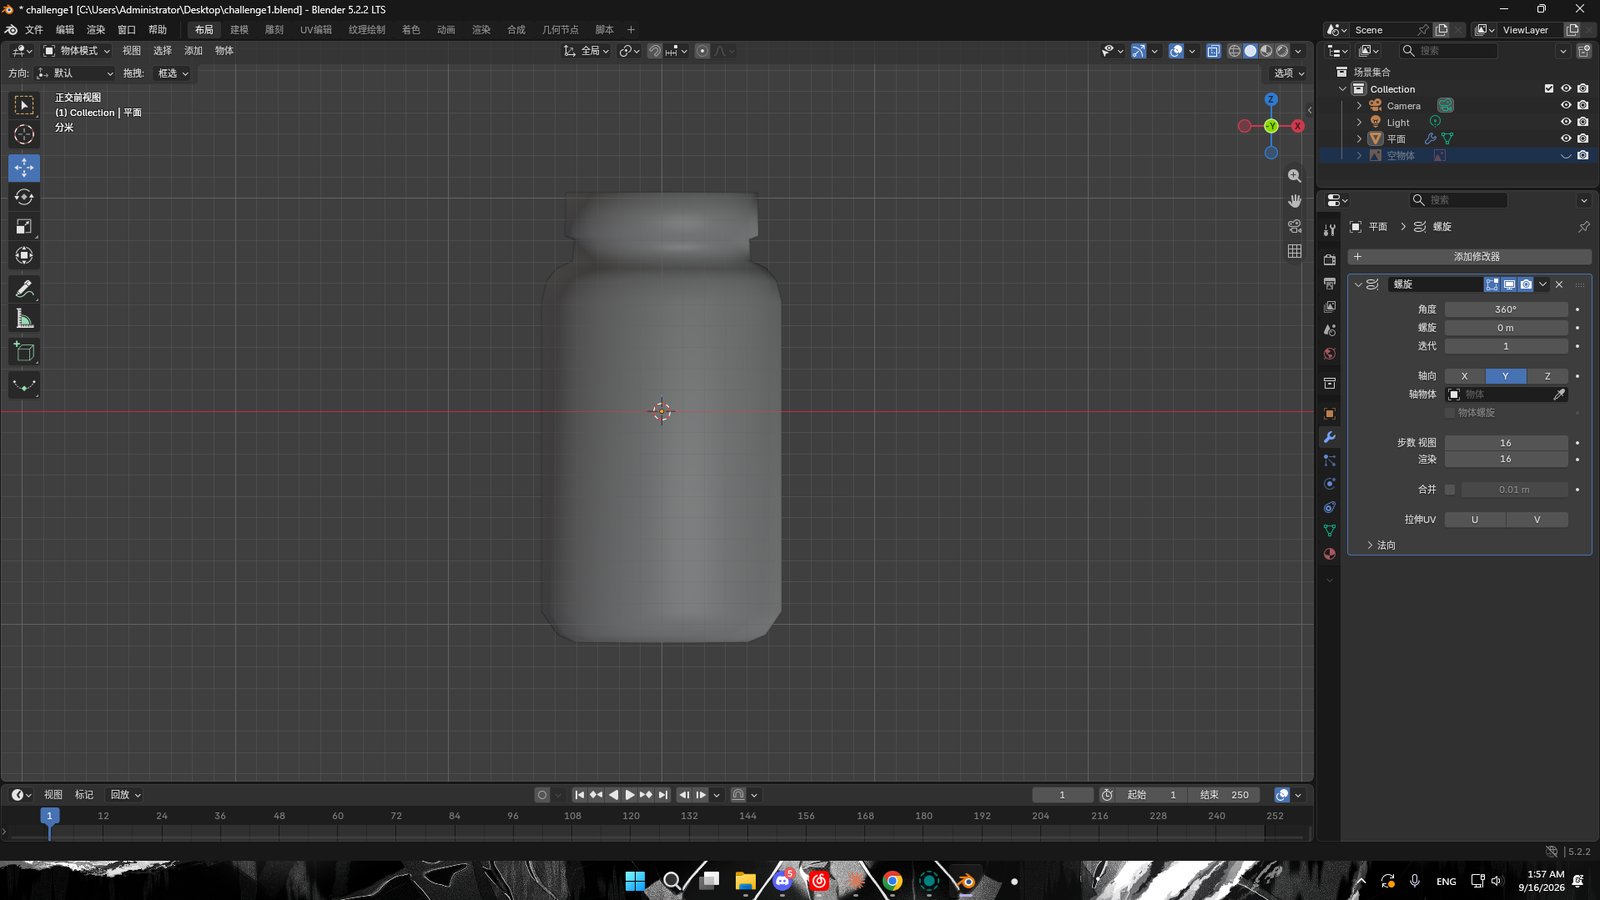
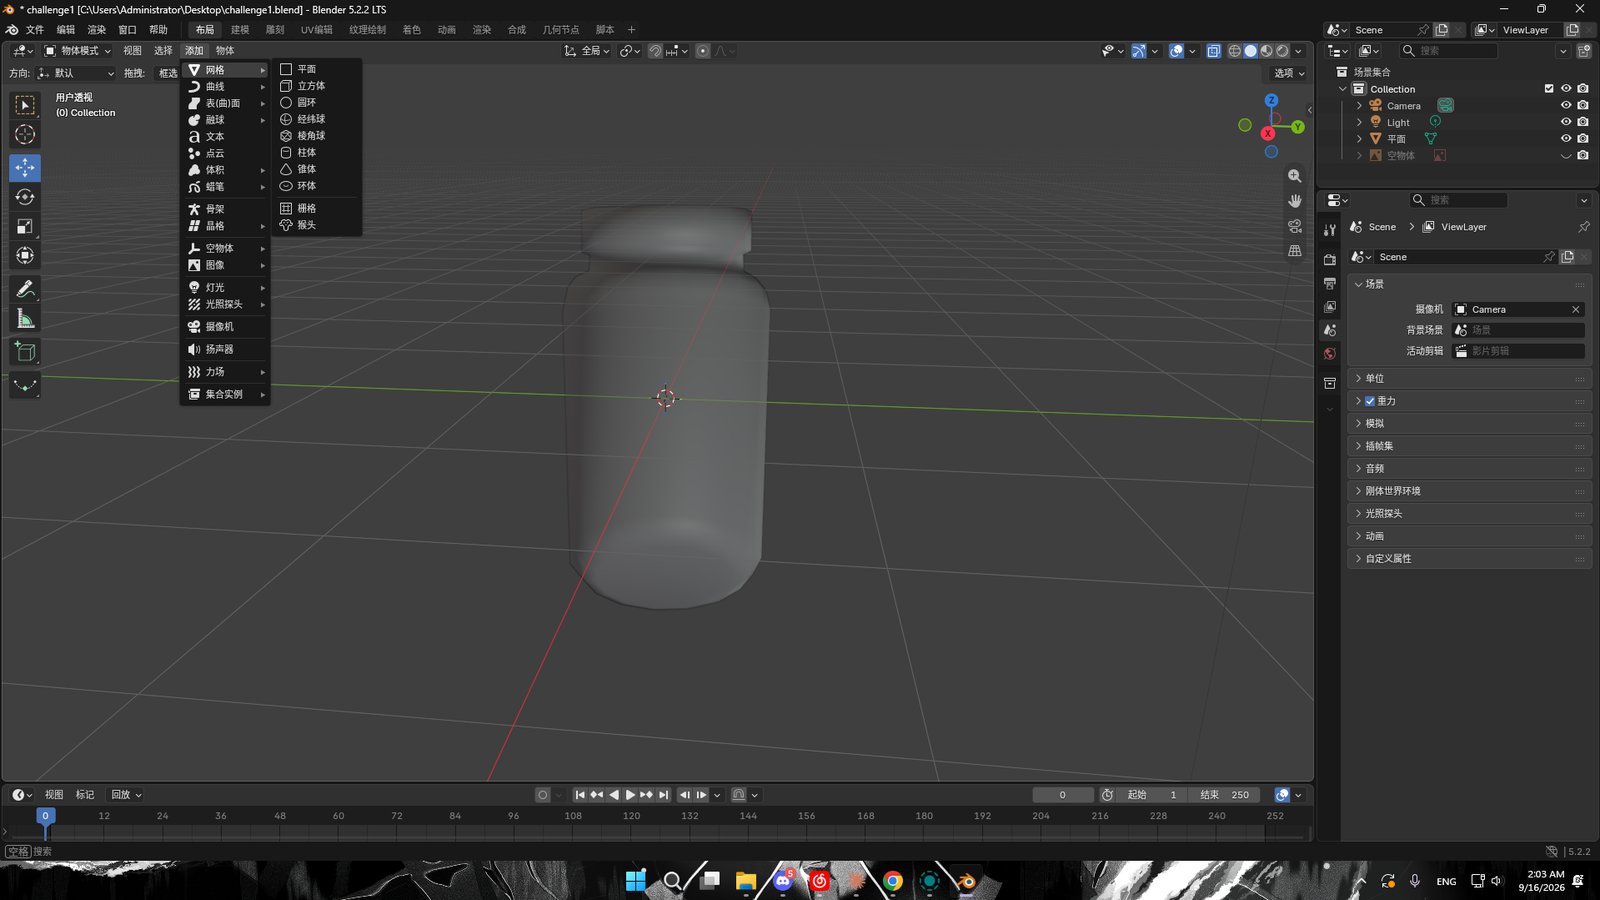
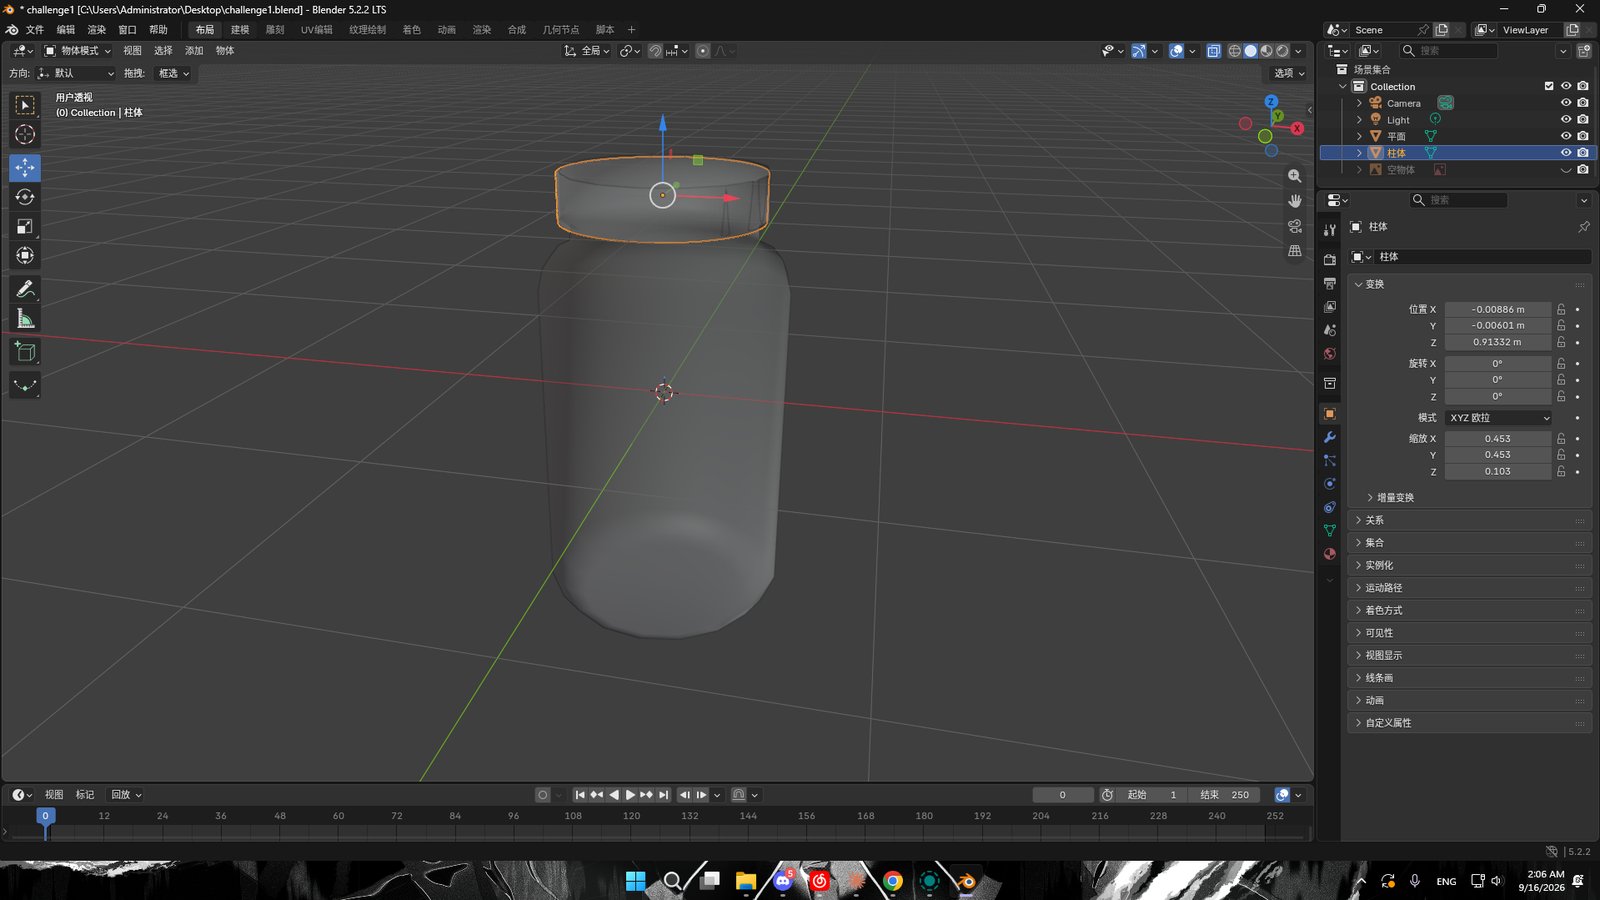
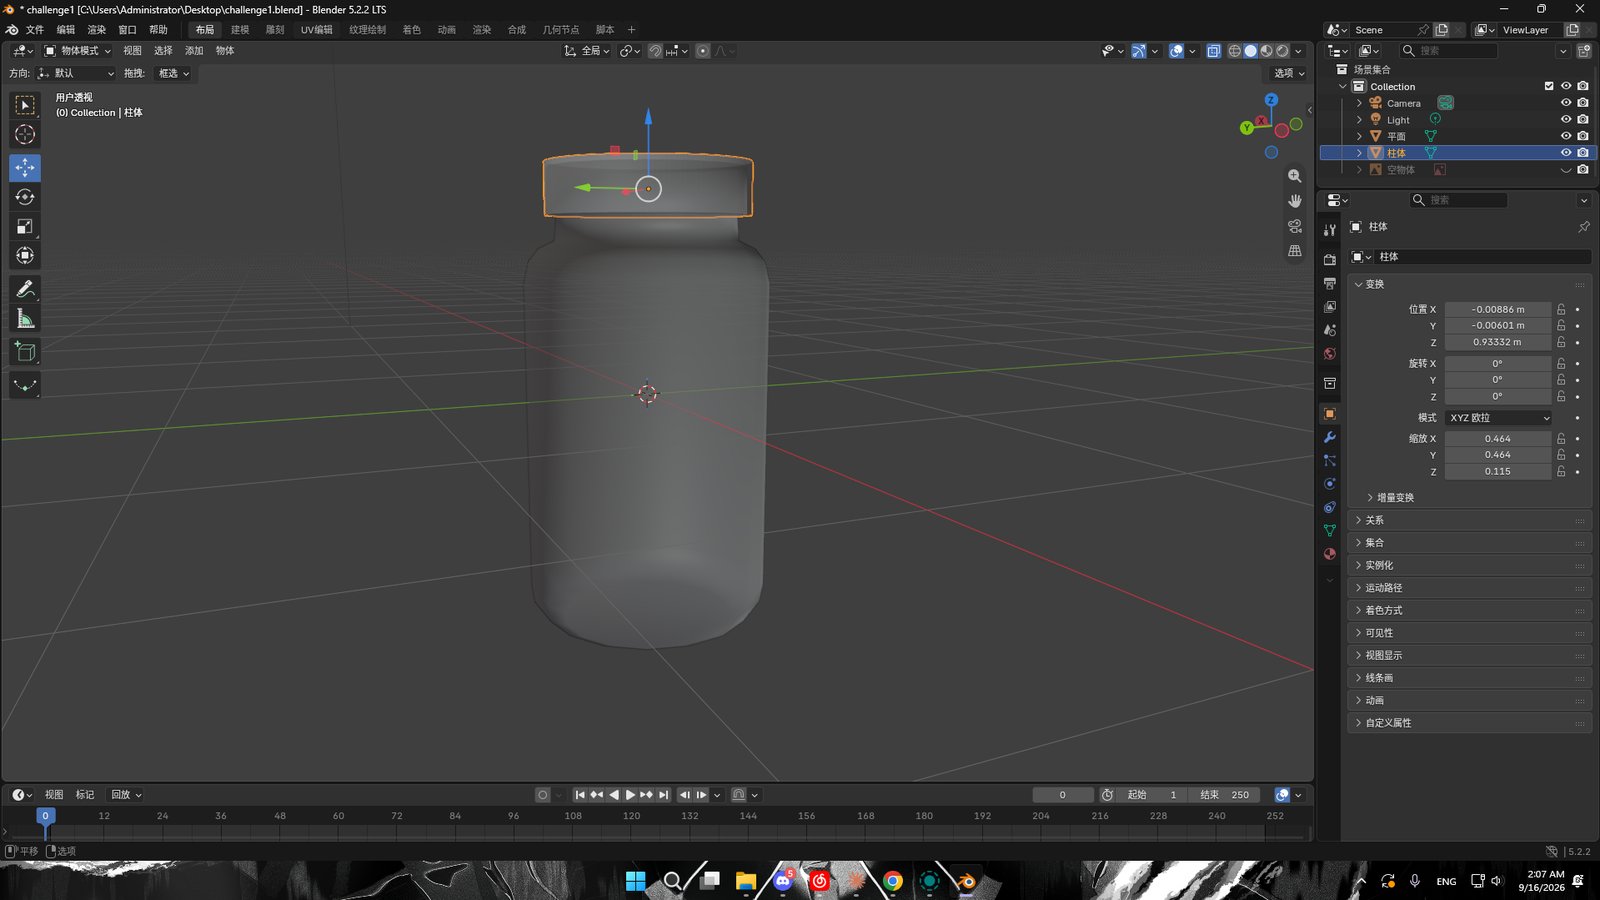
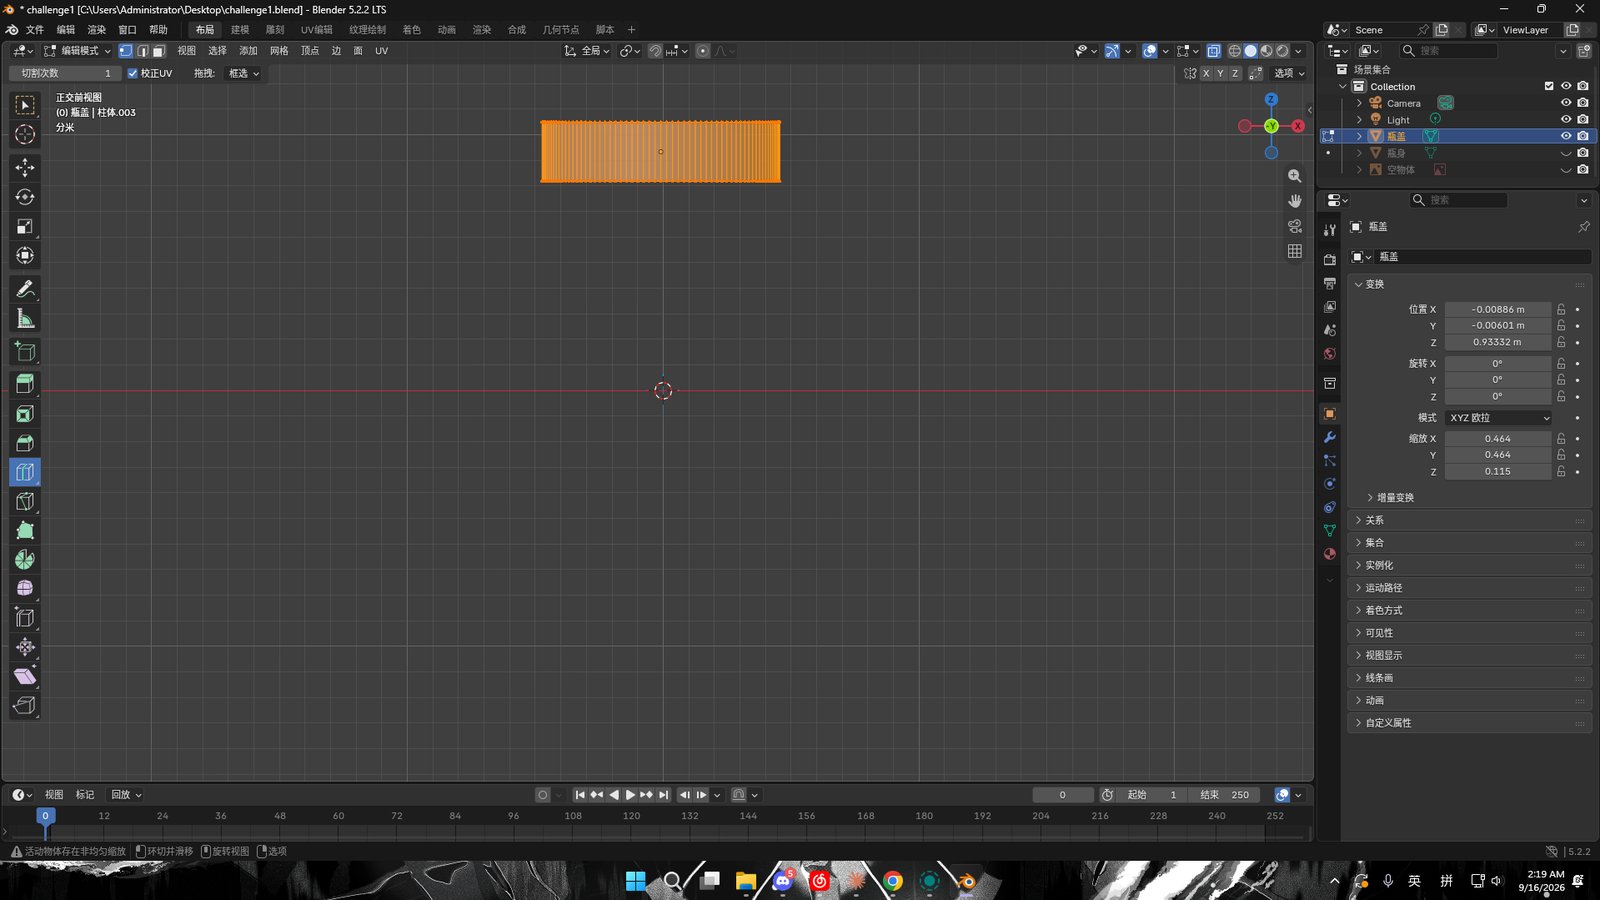
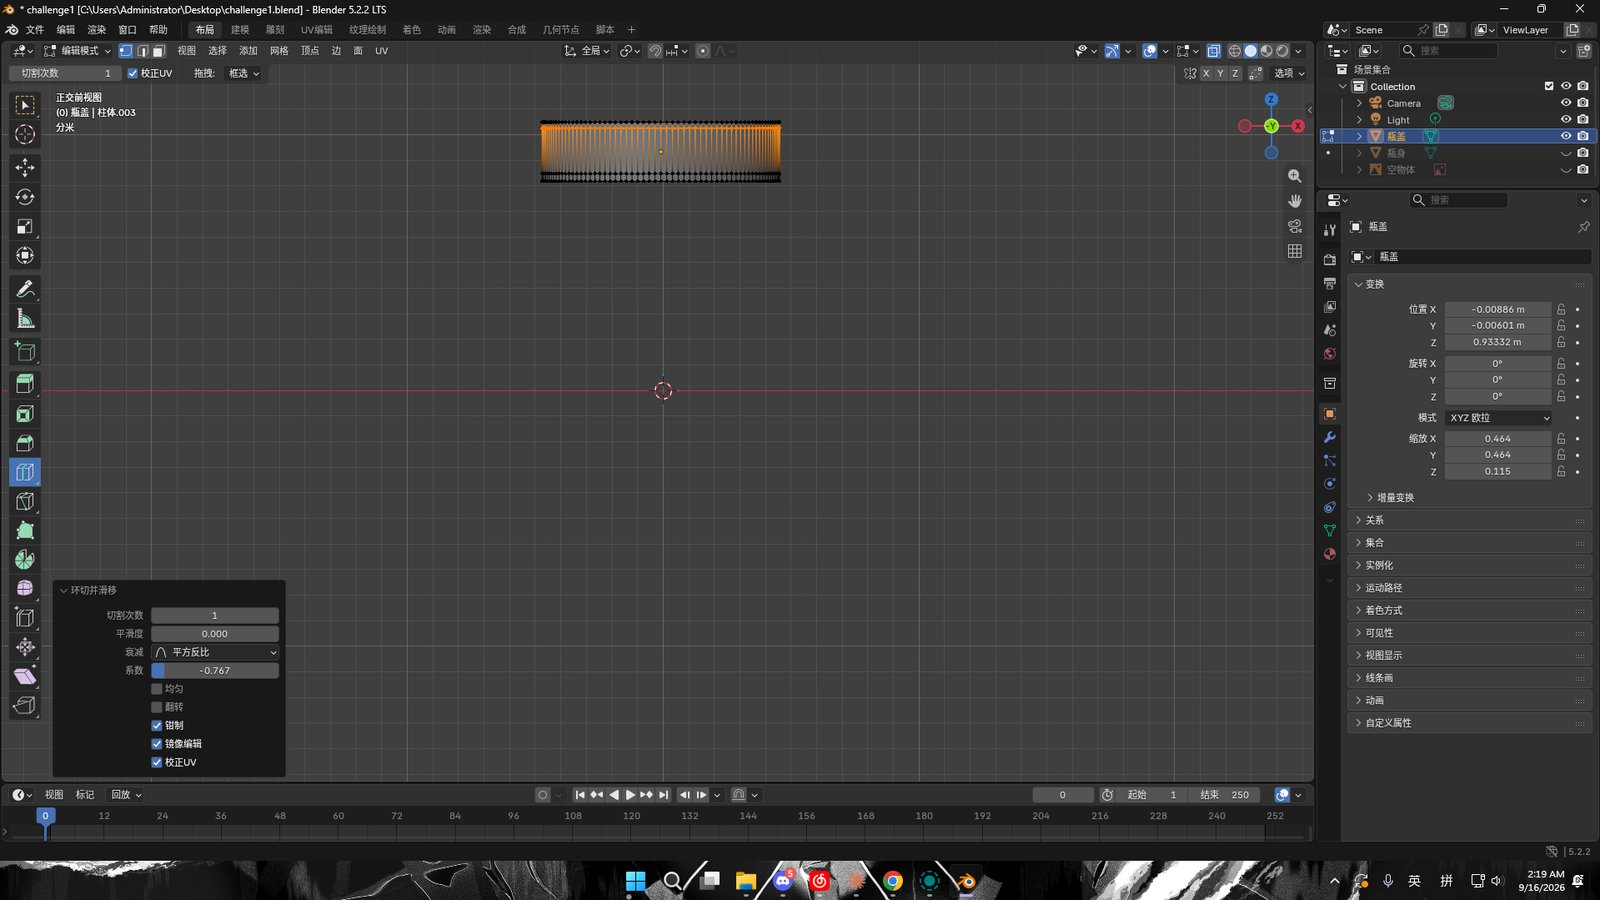
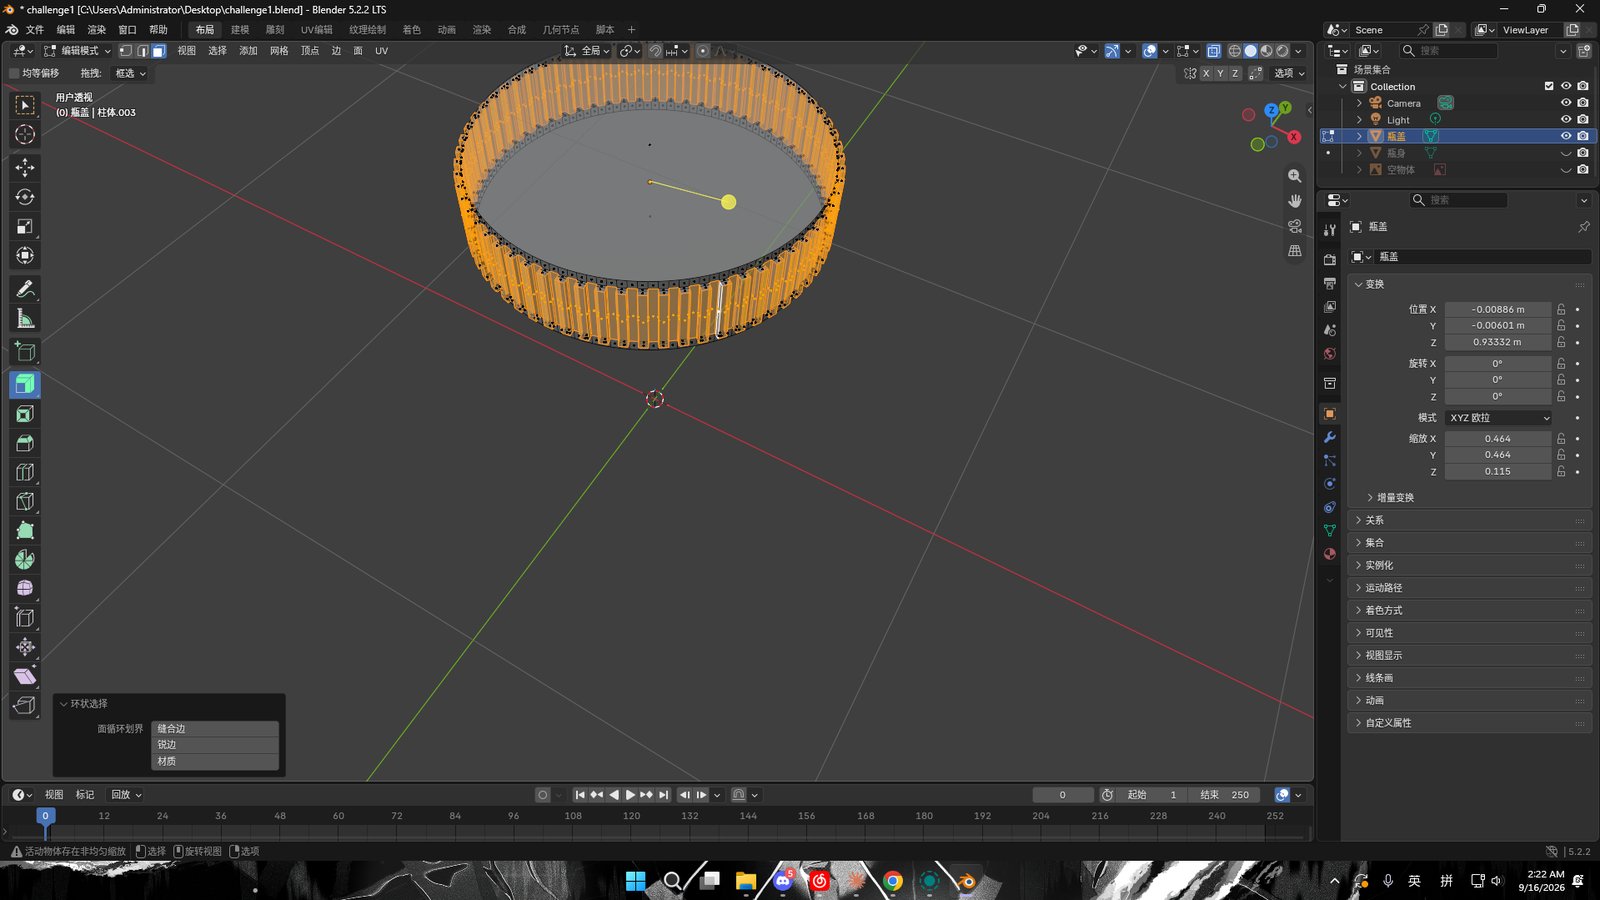
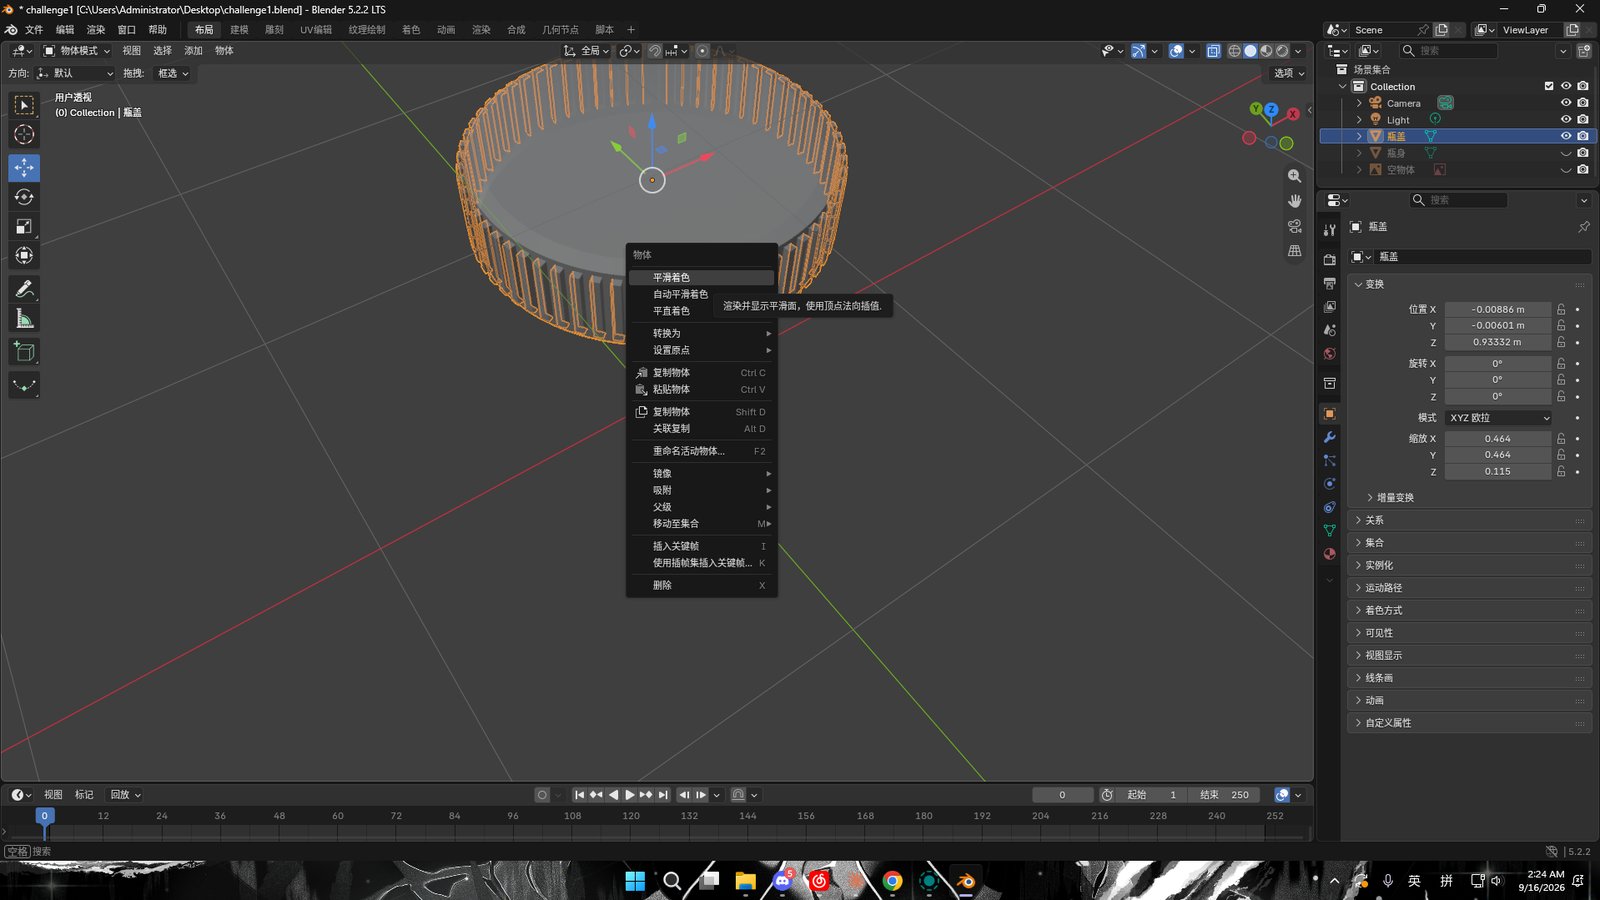
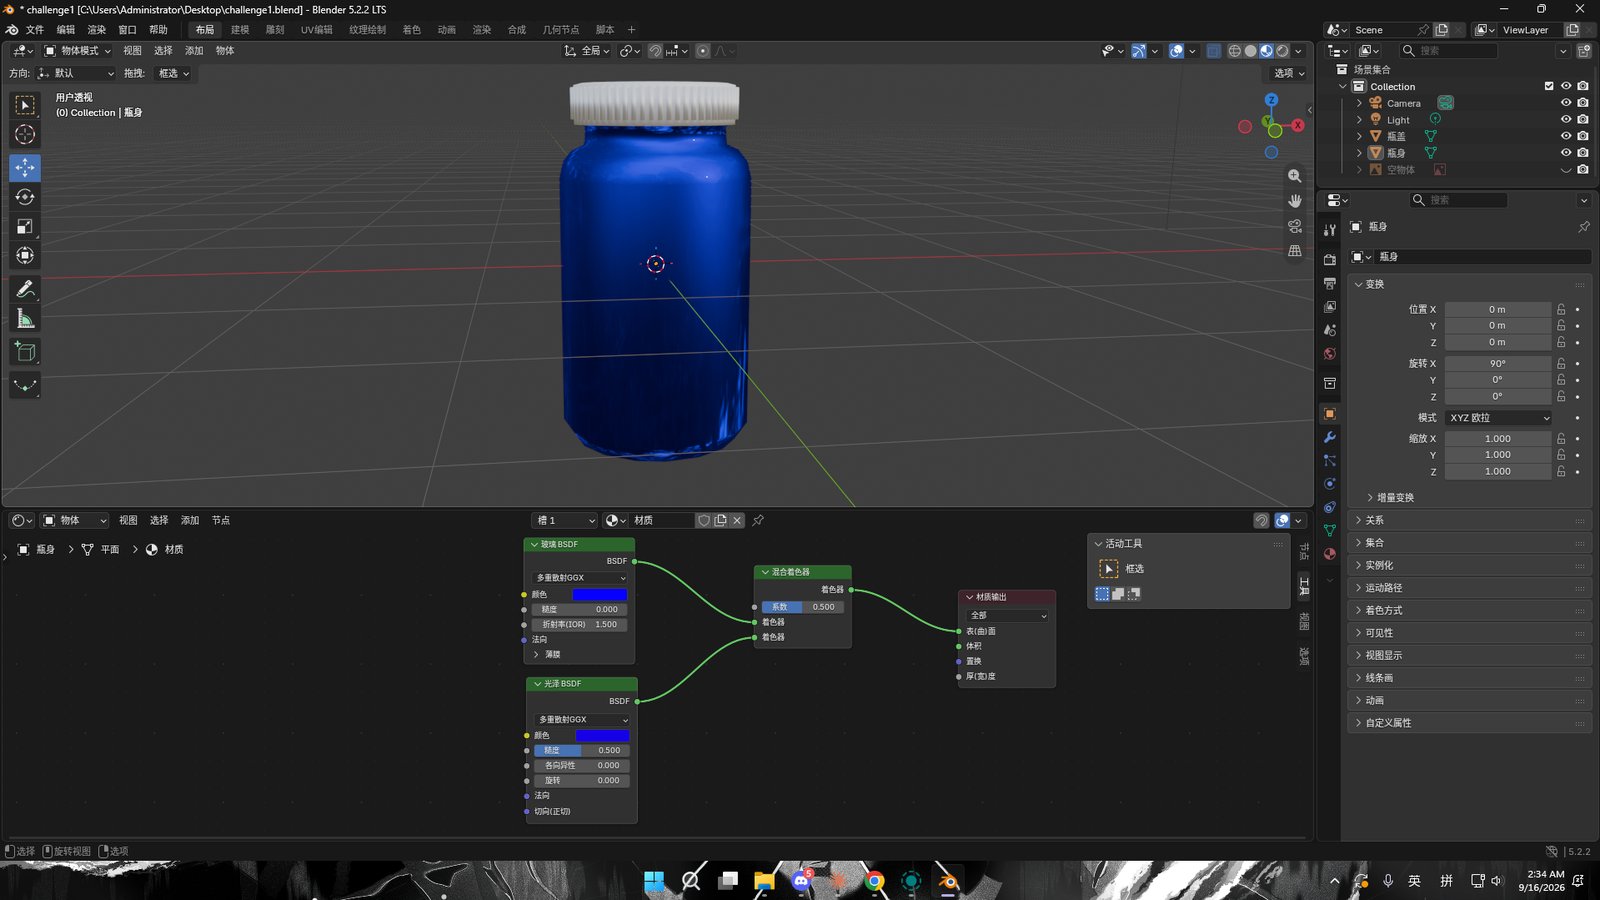
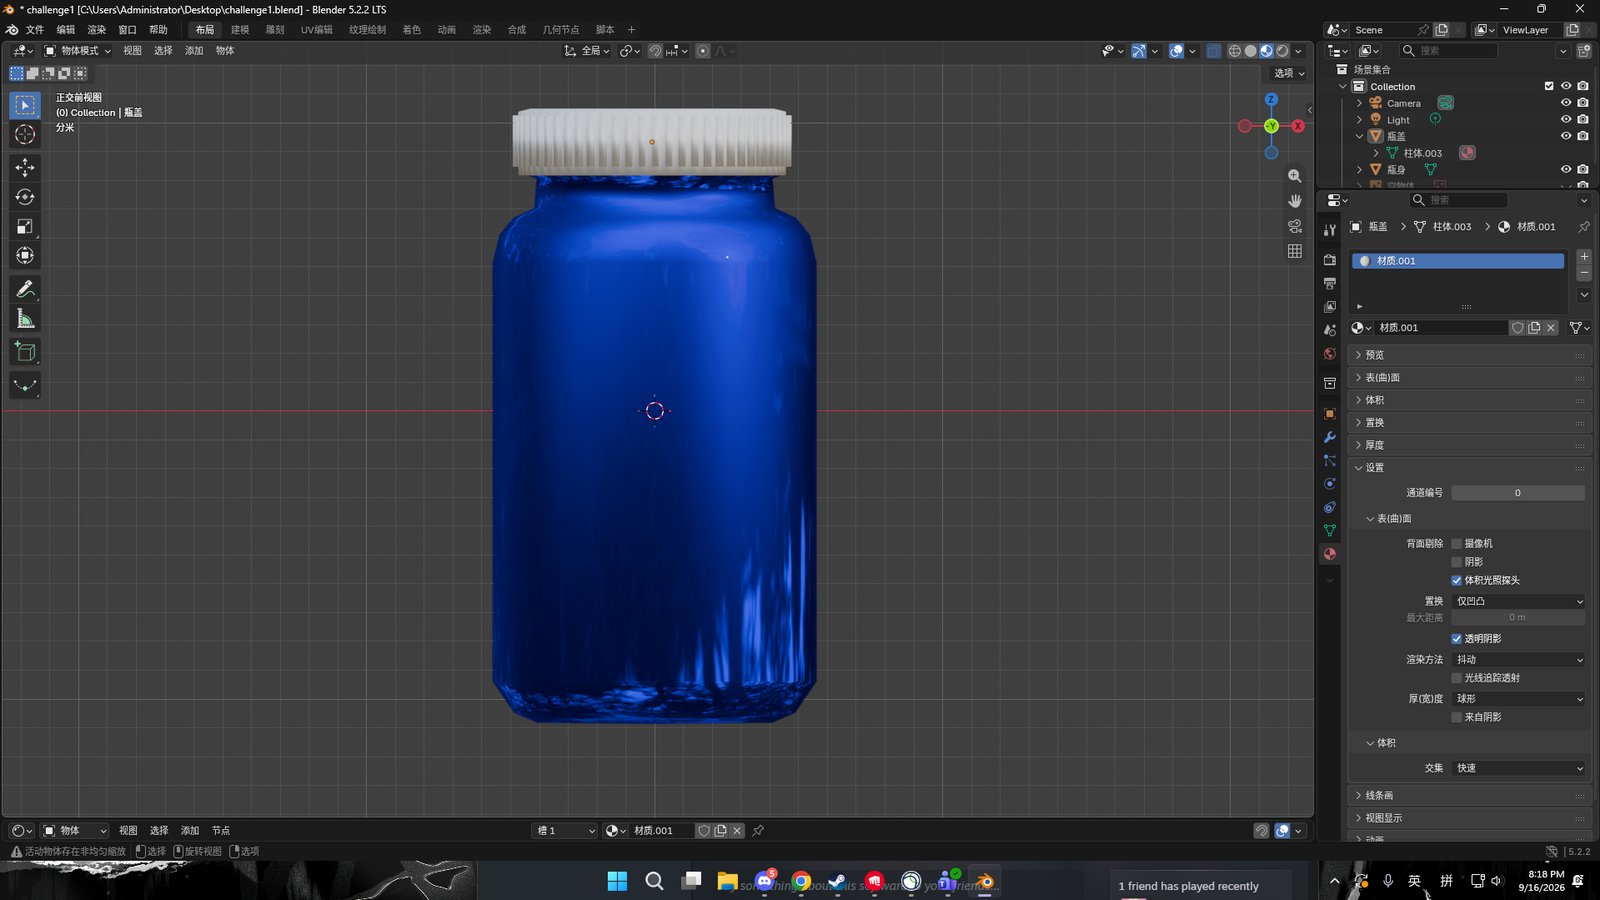
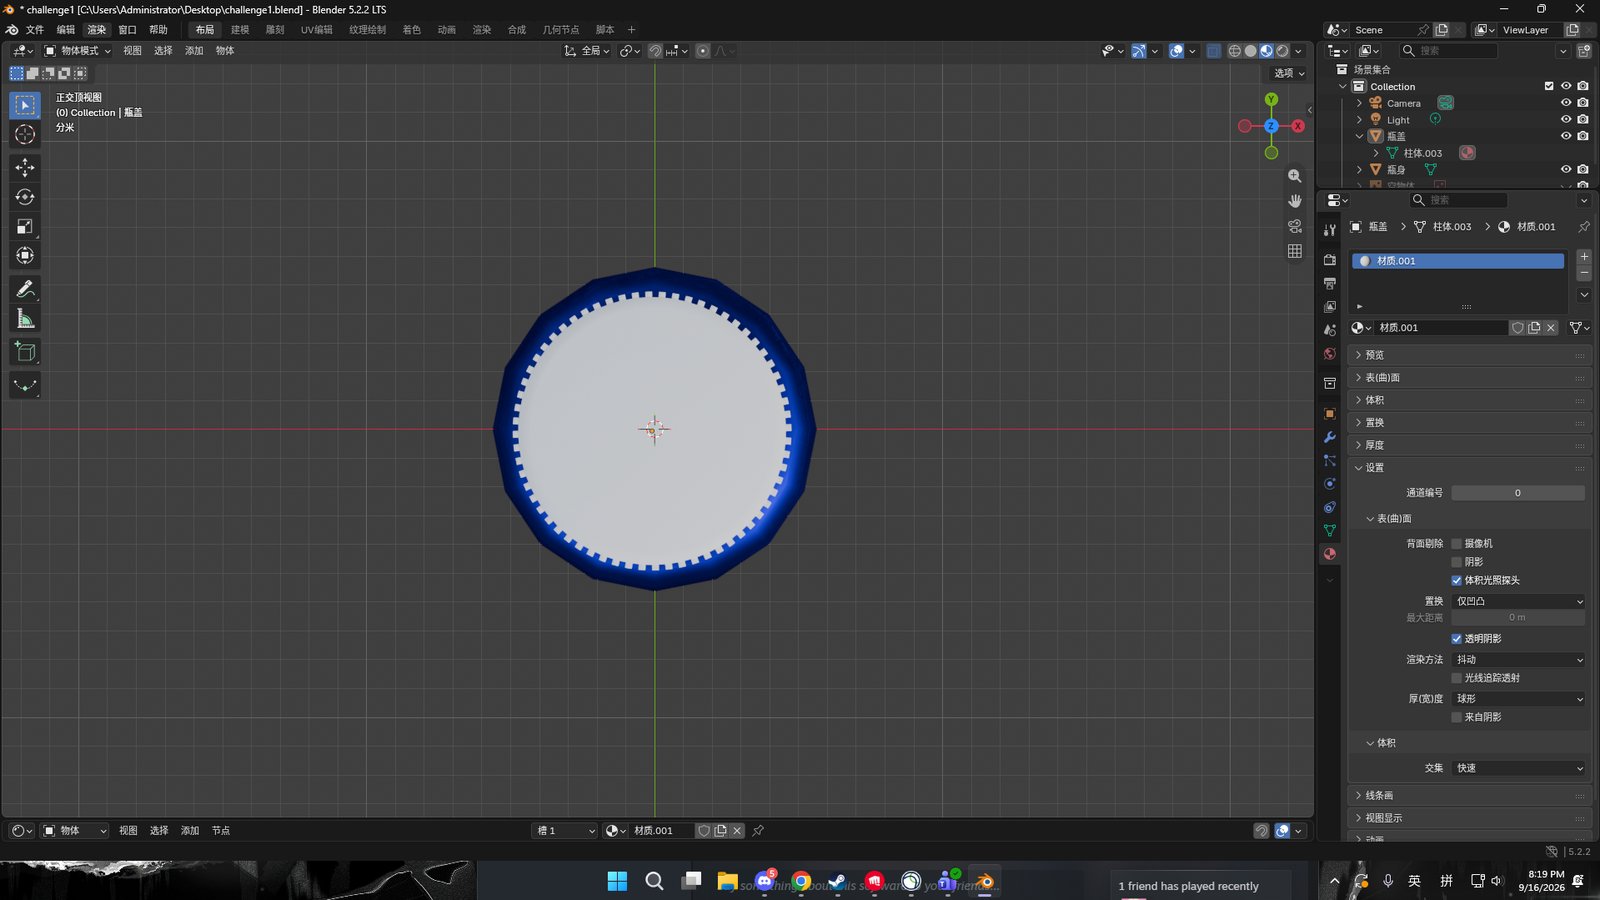
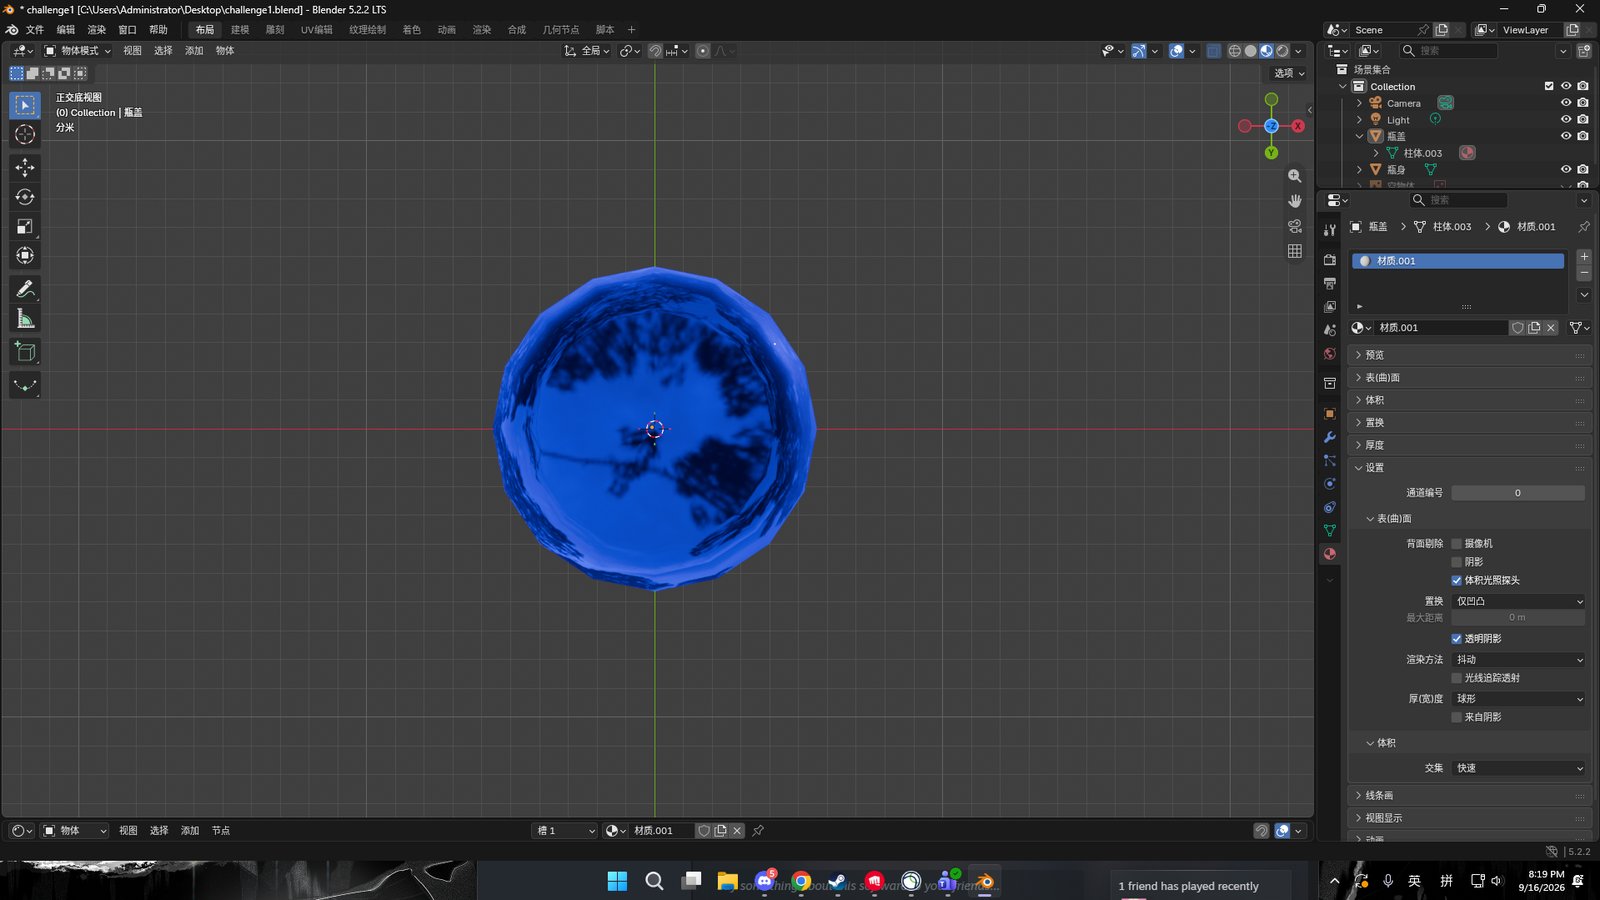
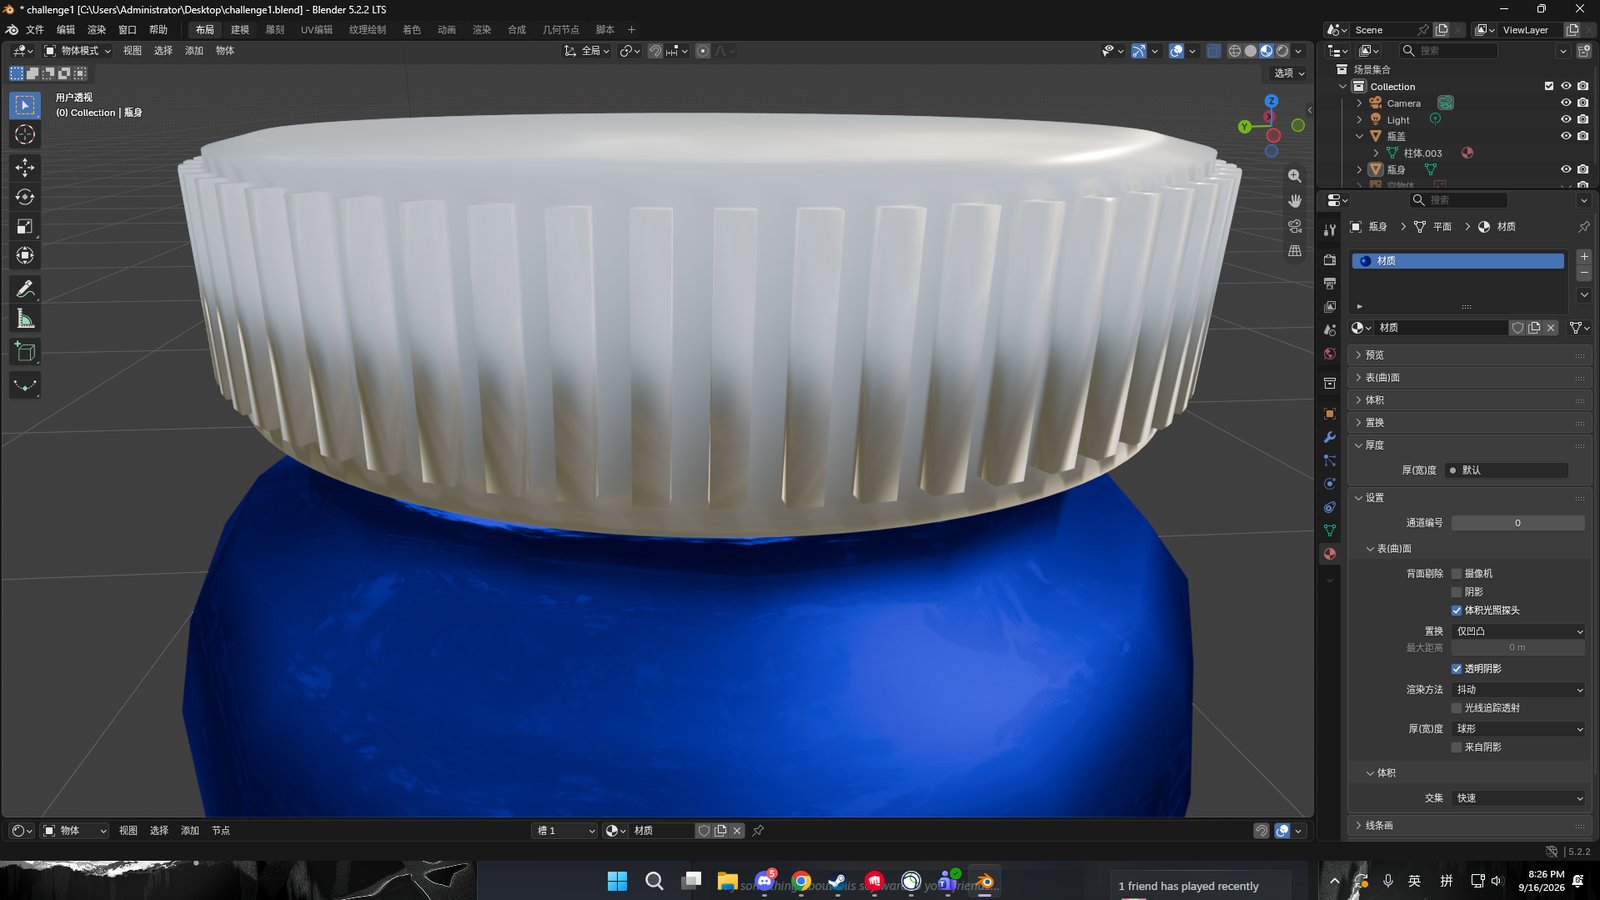
One object, studied and rebuilt. 8 reference photos, 12 modelling steps, 5 views of the finished model. Modelled in Blender. Click any frame to enlarge.
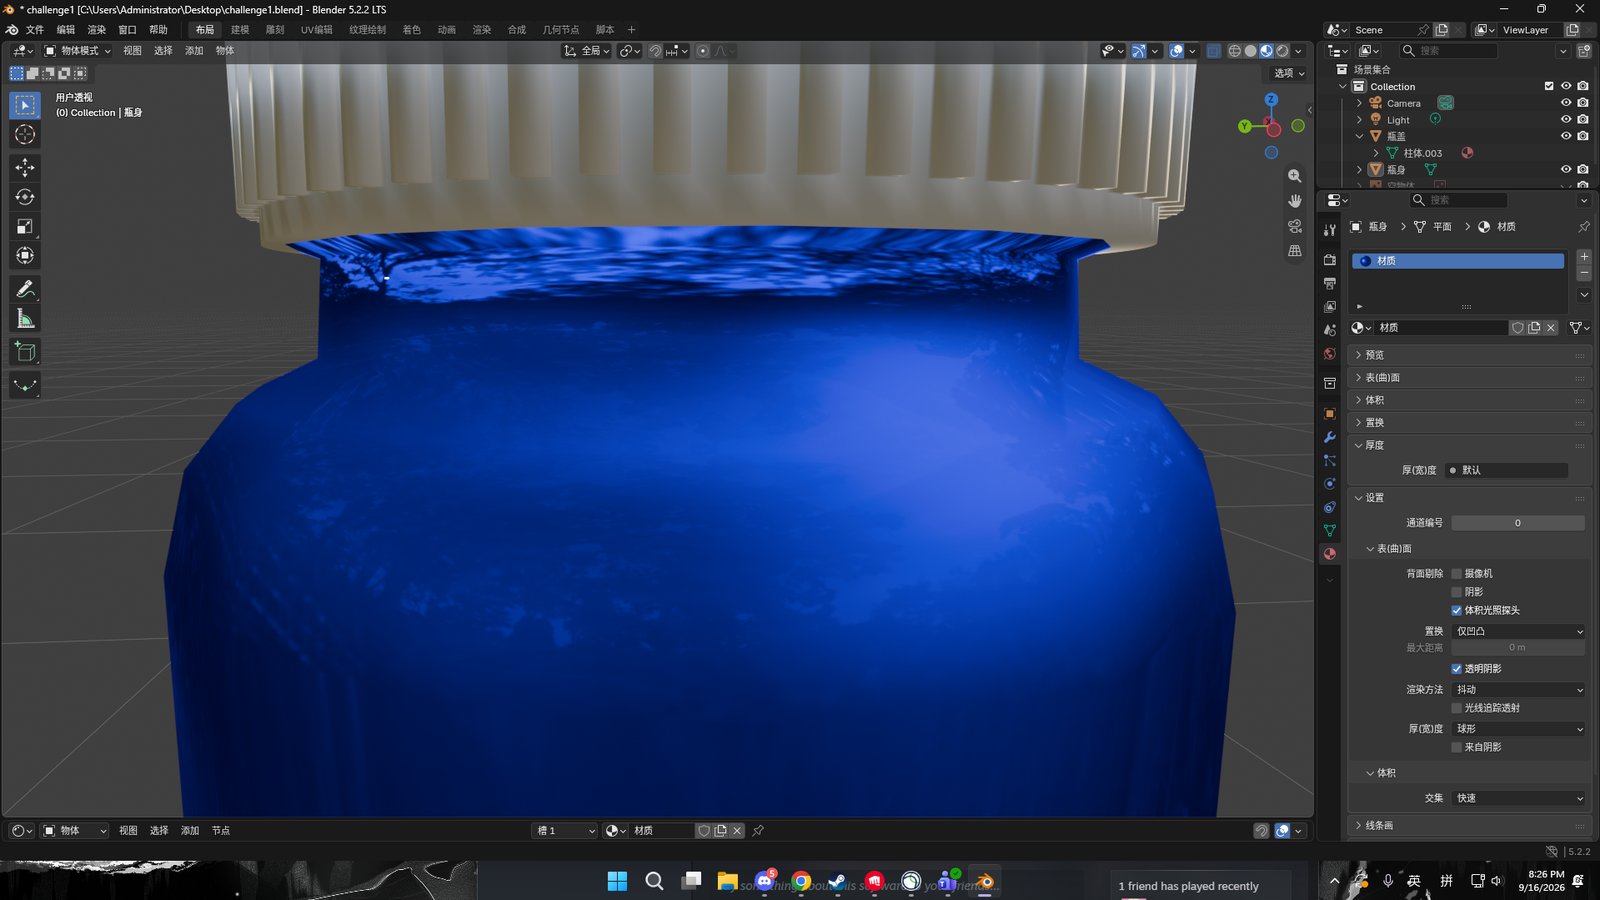
What I learned
A flat, square-on reference photo saved me more time than it cost — after that it was just tracing.
The cap took longer than the whole body. It only worked once I built the ribs flat with an Array modifier and bent them into a ring, instead of trying to cut them into a curved surface.
Shooting one object from eight angles showed me things the reference photo hides: the threaded neck, the domed base, the gate pip. The shape is right; the object isn't yet.
To fix: apply scale (Blender is still warning me), rebuild the neck with a proper thread, more ribs on the cap, add the base detail.
Design Challenge 2 — 3D Modelling and AI Modelling
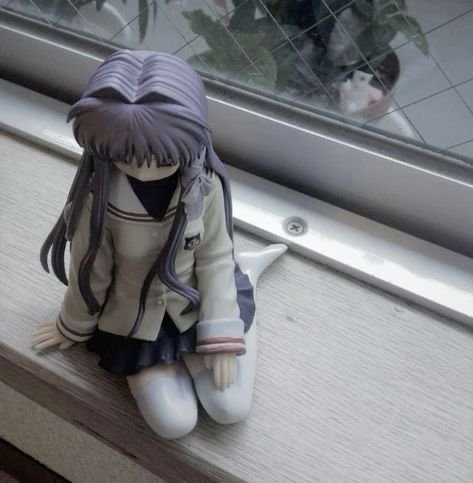
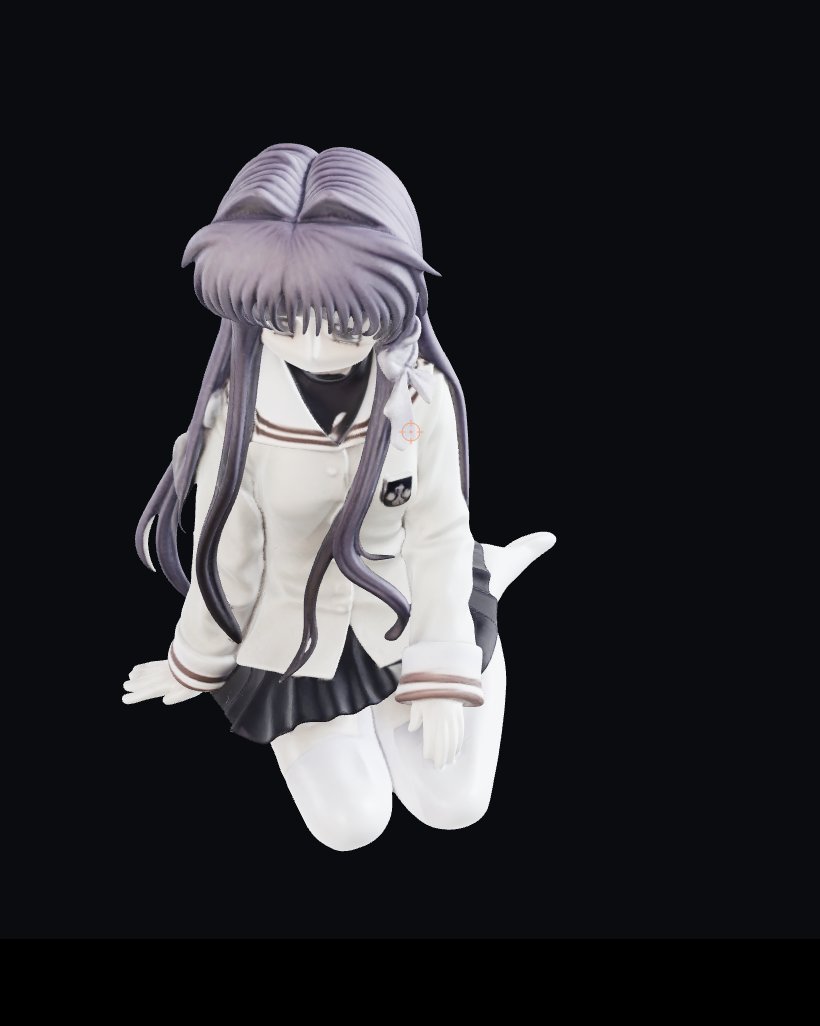
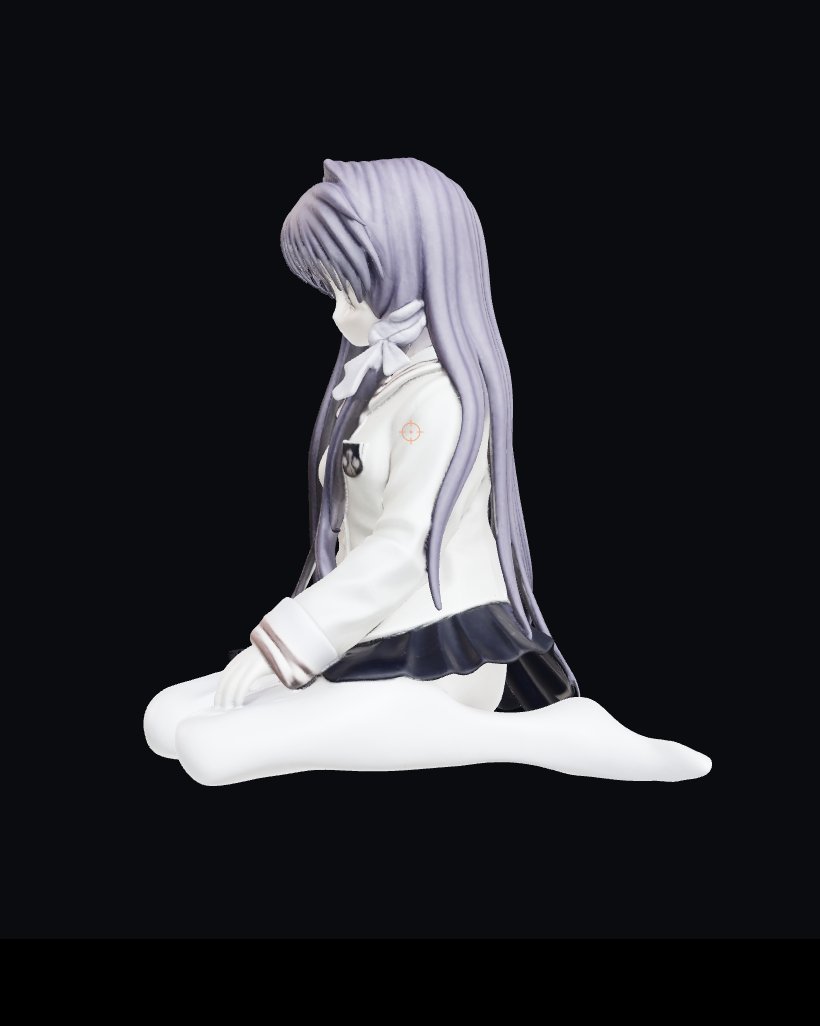
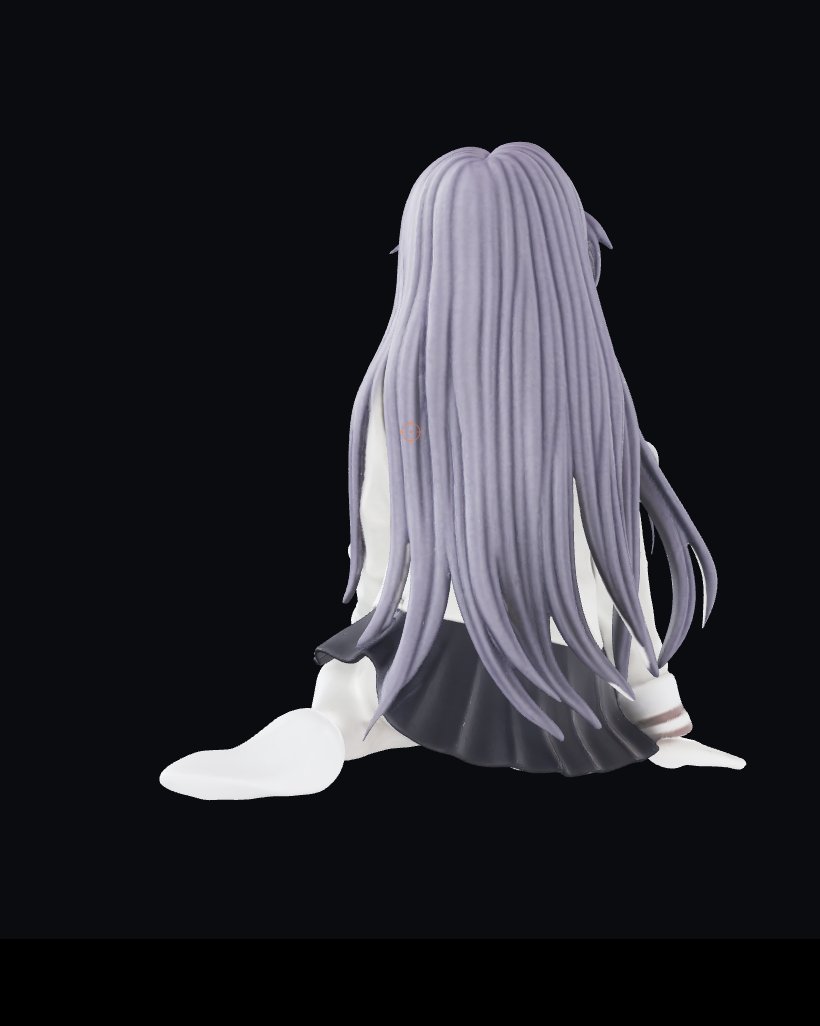
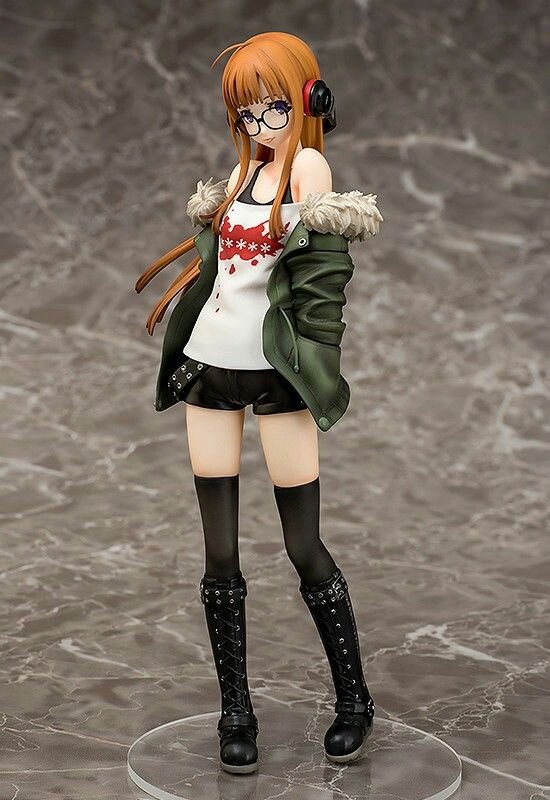
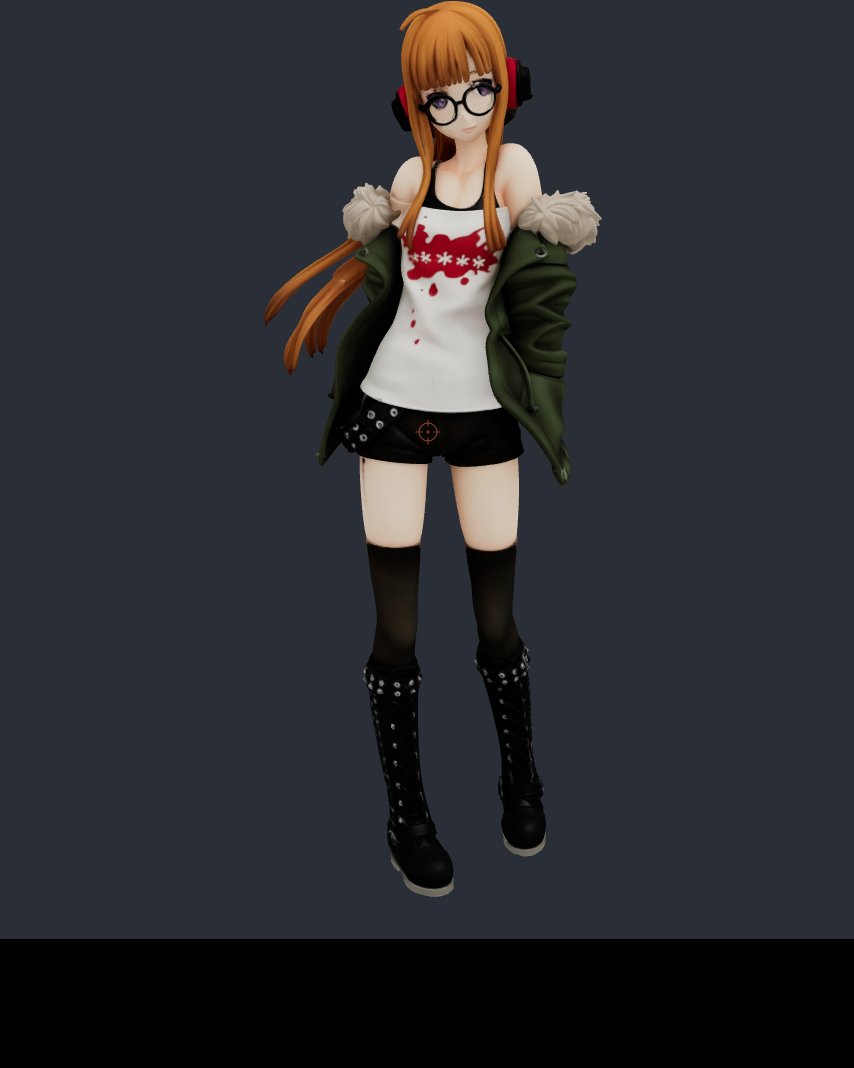
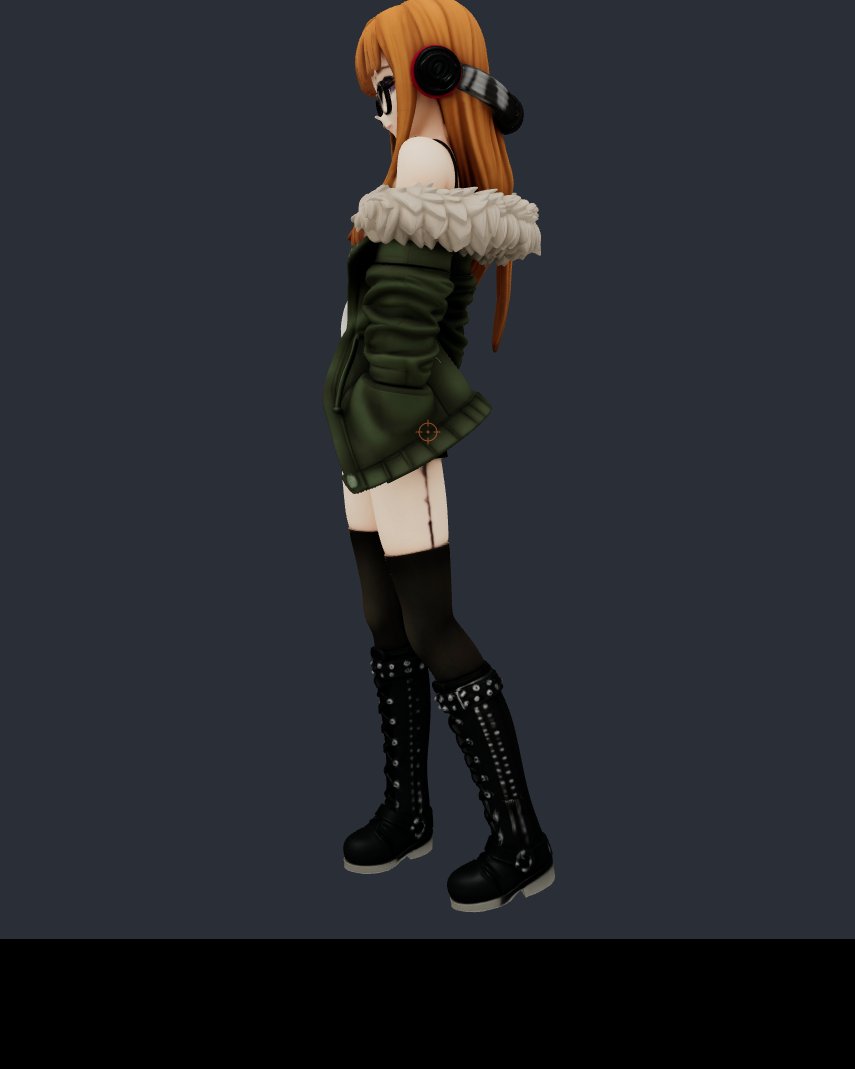
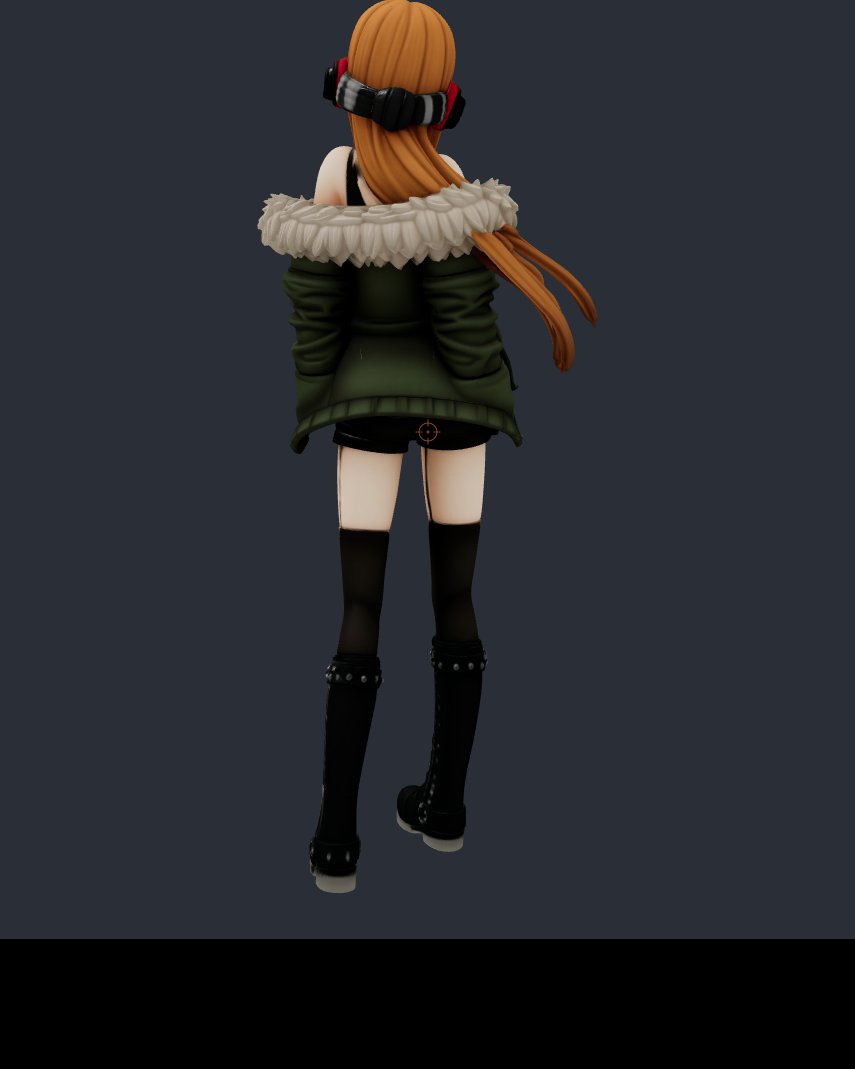
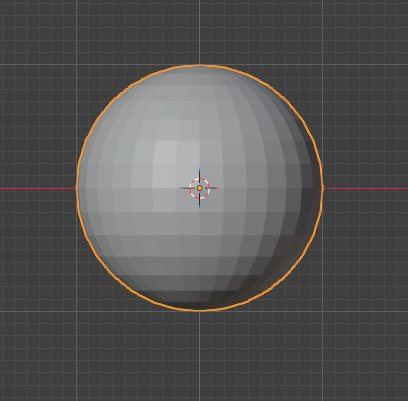
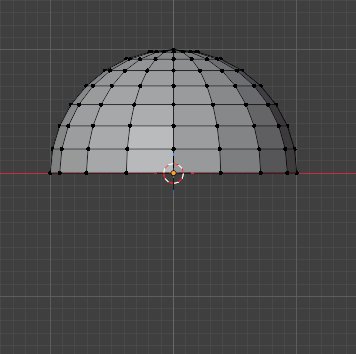
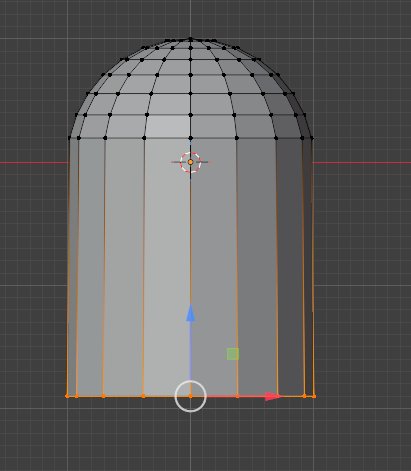
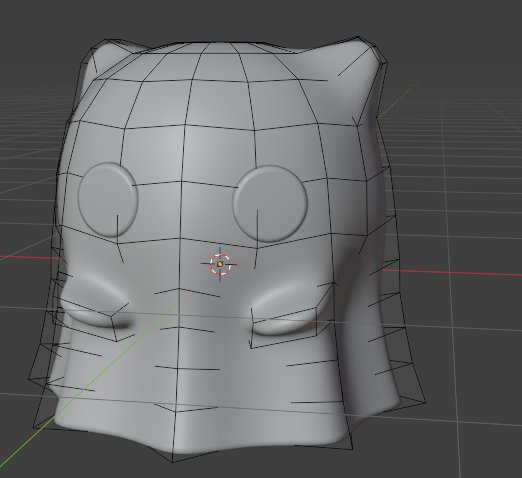
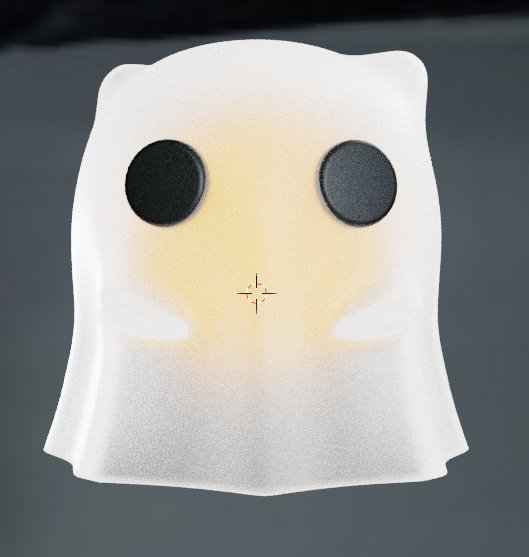
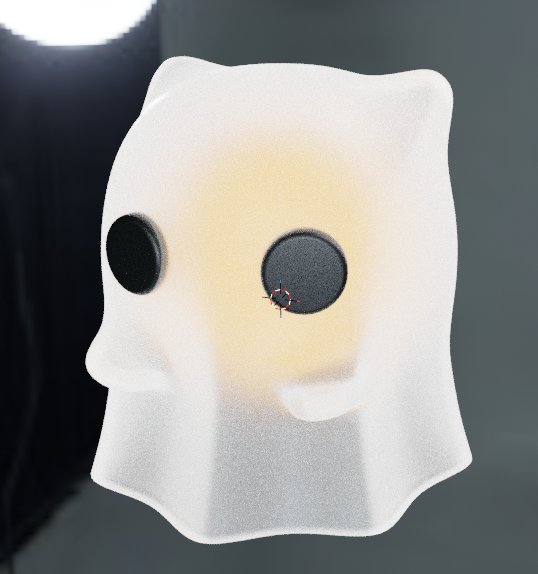
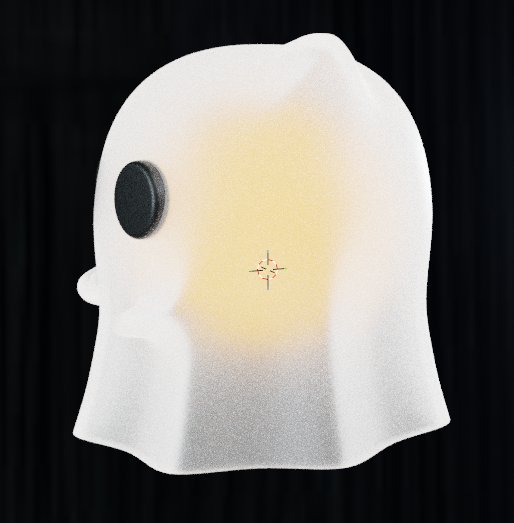
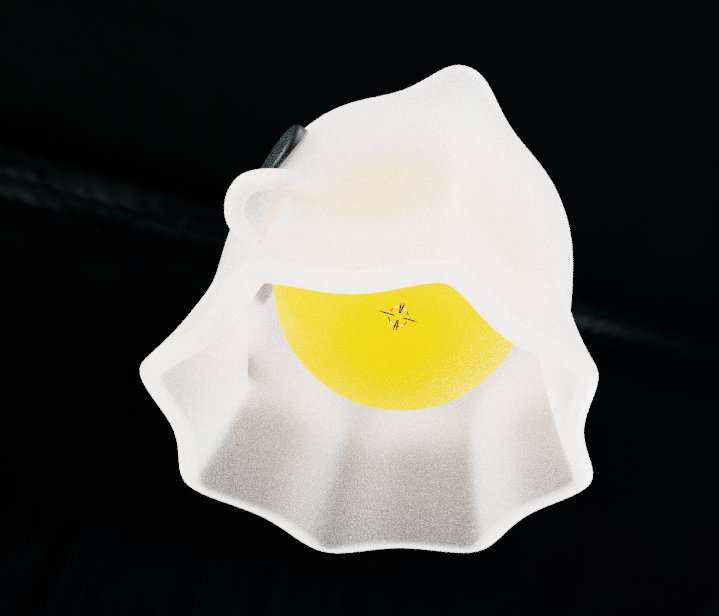
Two routes compared. Two figures generated with AI modelling tools (Meshy AI and Hi3D), then one object modelled by hand in Blender from a primitive. Click any frame to enlarge.

What I learned
The AI models took about two minutes each and look far better from across the room. Up close they fall apart: the Meshy figure has no face, the Hi3D one has the jacket intersecting the body, and both have hair fused into solid blocks. 2M triangles for something I cannot edit.
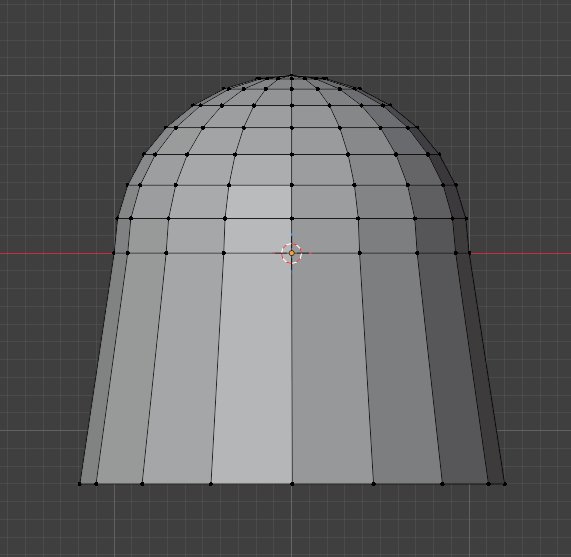
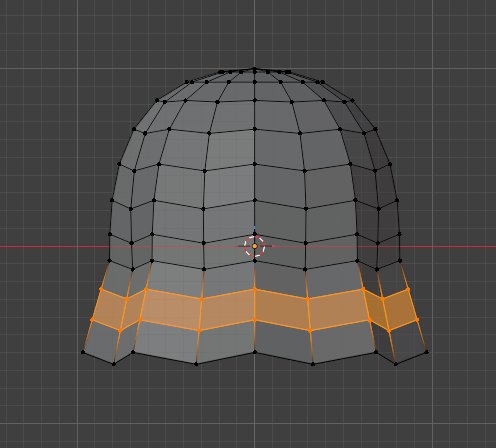
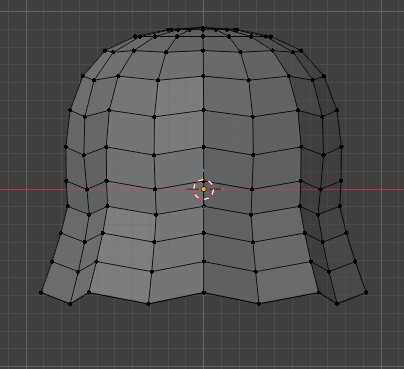
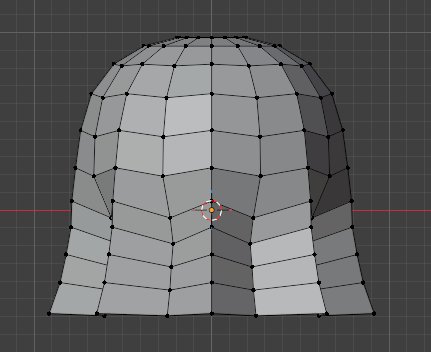
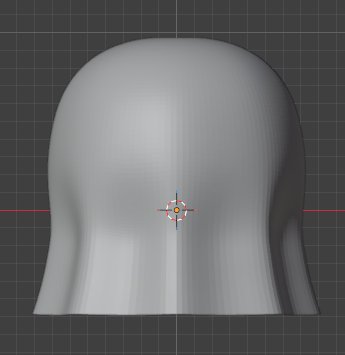
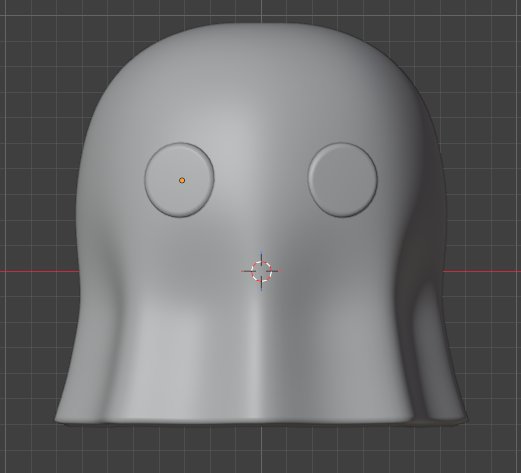
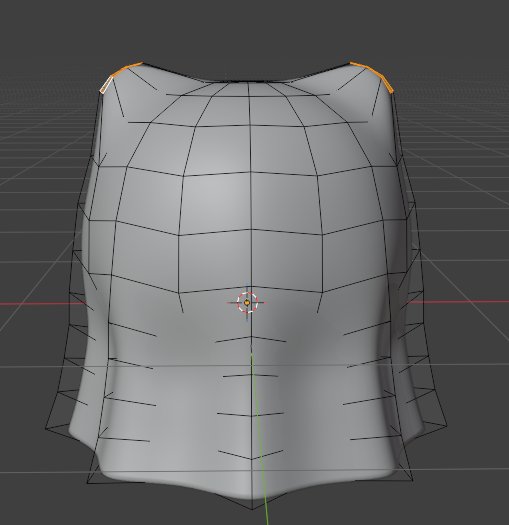
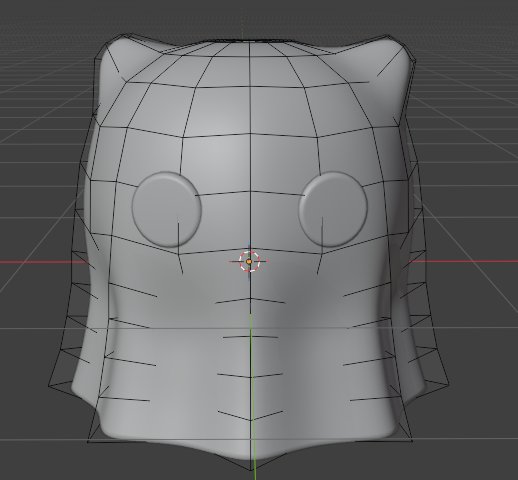
The ghost took an evening and came out of one UV sphere — delete the bottom half, extrude down, flare the hem, subdivide. Simple, but every vertex is mine.
AI is fast for a look, not for a part. To change one thing on either figure I would have to rebuild it.
Material Workshop 1 — AA Wing Walk
Three objects on display in the AA wing, from Sheridan's craft and design programs. Click a photo to enlarge.
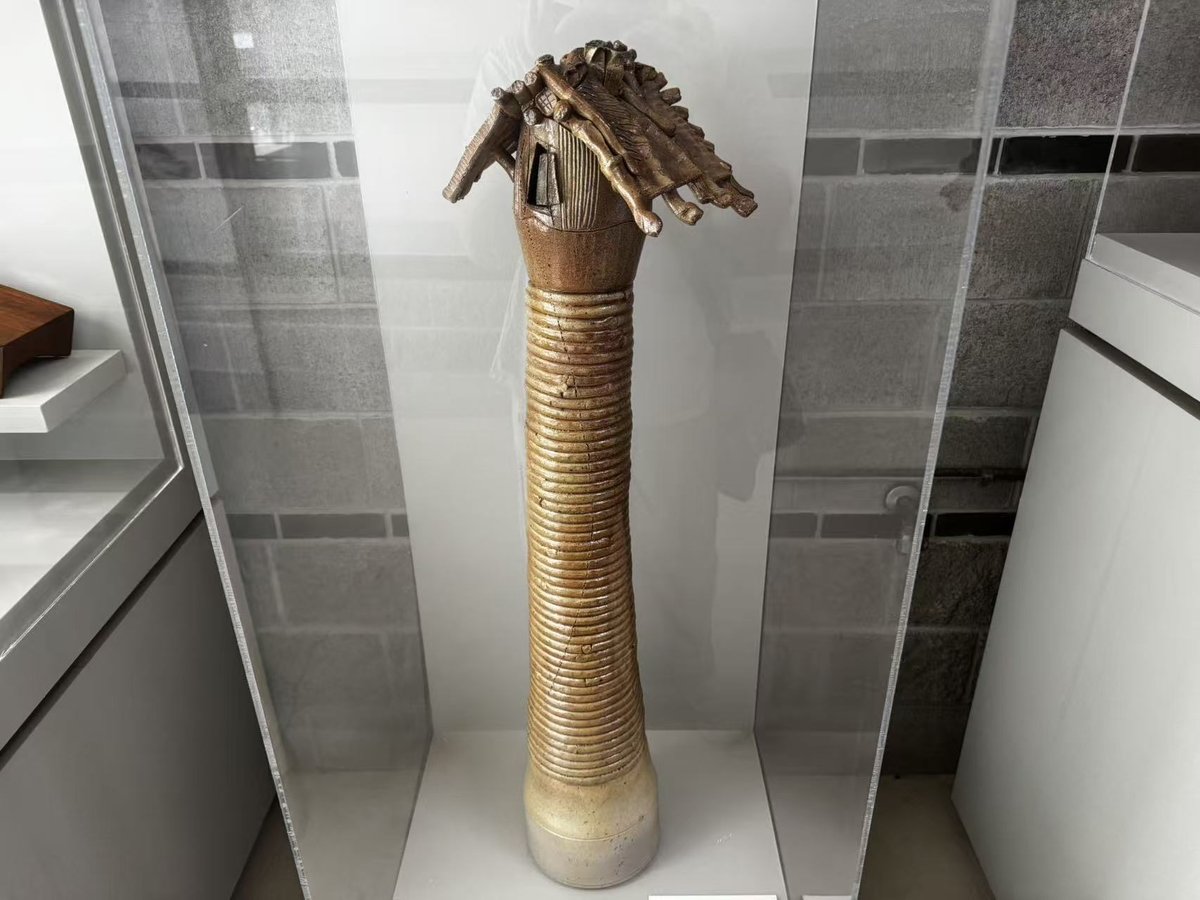
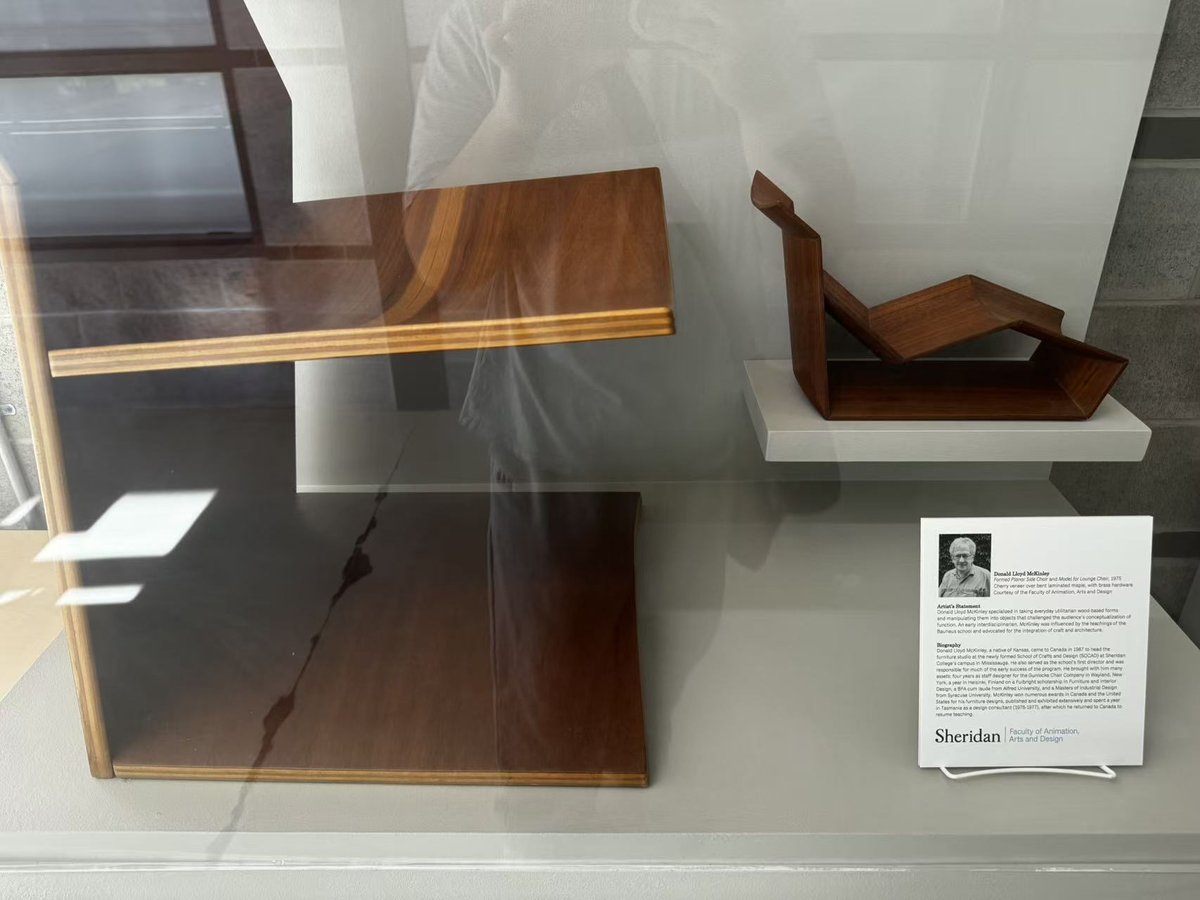
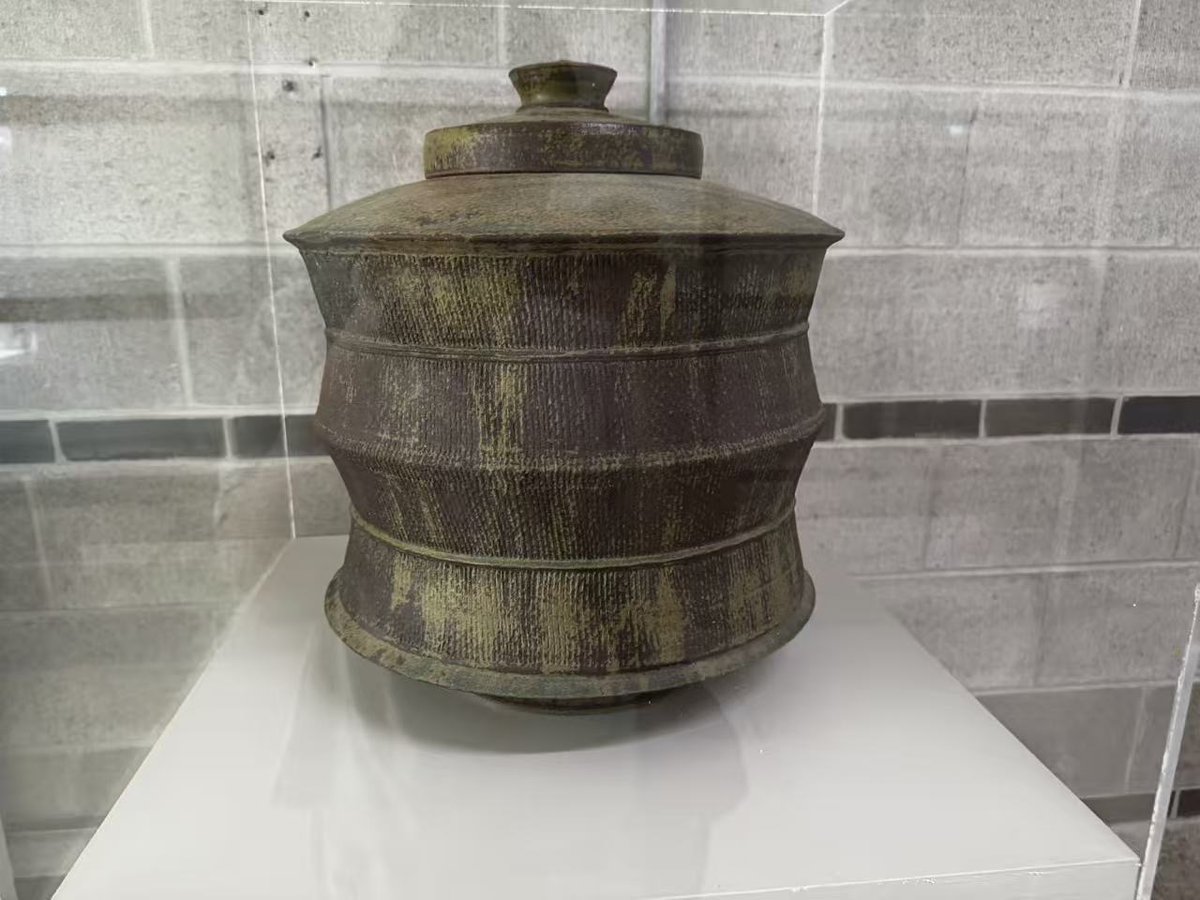
| Coiled vessel | Side chair | Lidded jar | |
|---|---|---|---|
| Material | Ceramic | Wood (laminated) | Ceramic |
| Program | Ceramics | Furniture | Ceramics |
| Colour | Brown to pale grey | Red-brown, light edge layers | Dark brown, green |
| Surface texture | Ridged coils | Smooth, layered edges | Fine lines, rough glaze |
What I noticed: the making process stays visible on all three — the coils, the glaze, the layers in the chair's edge.
Material Workshop 2 — Three Materials at Home
Three materials documented from everyday objects: a polymer, a glass and a metal. Each one is indexed by state, plasticity and use, plus three material qualities — colour, rigidity and surface texture. Click a photo to enlarge.
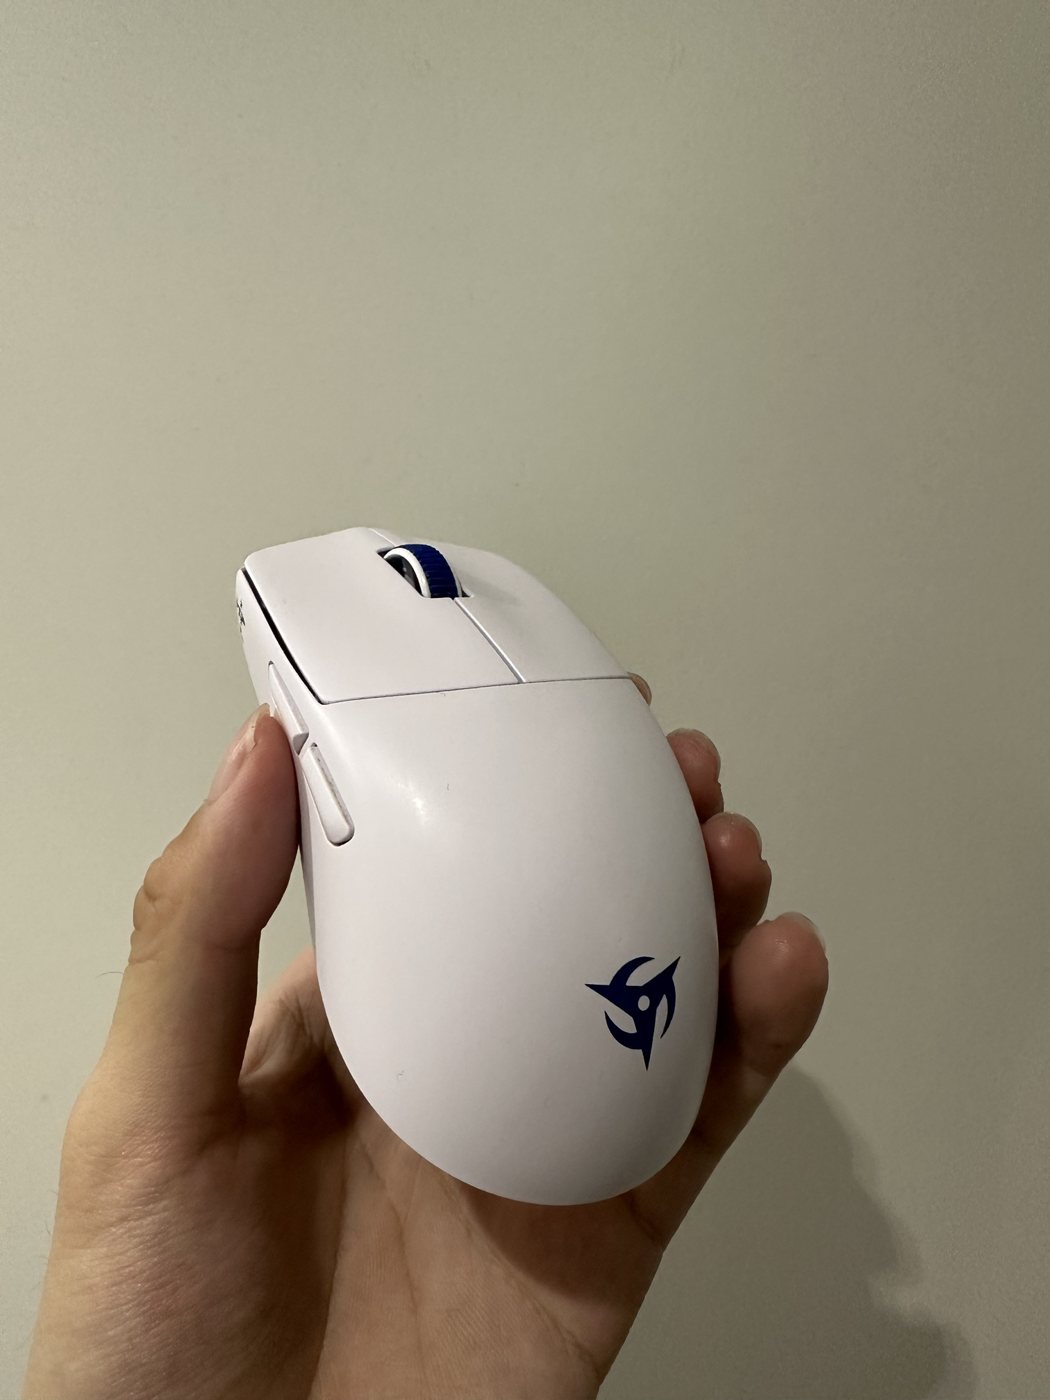
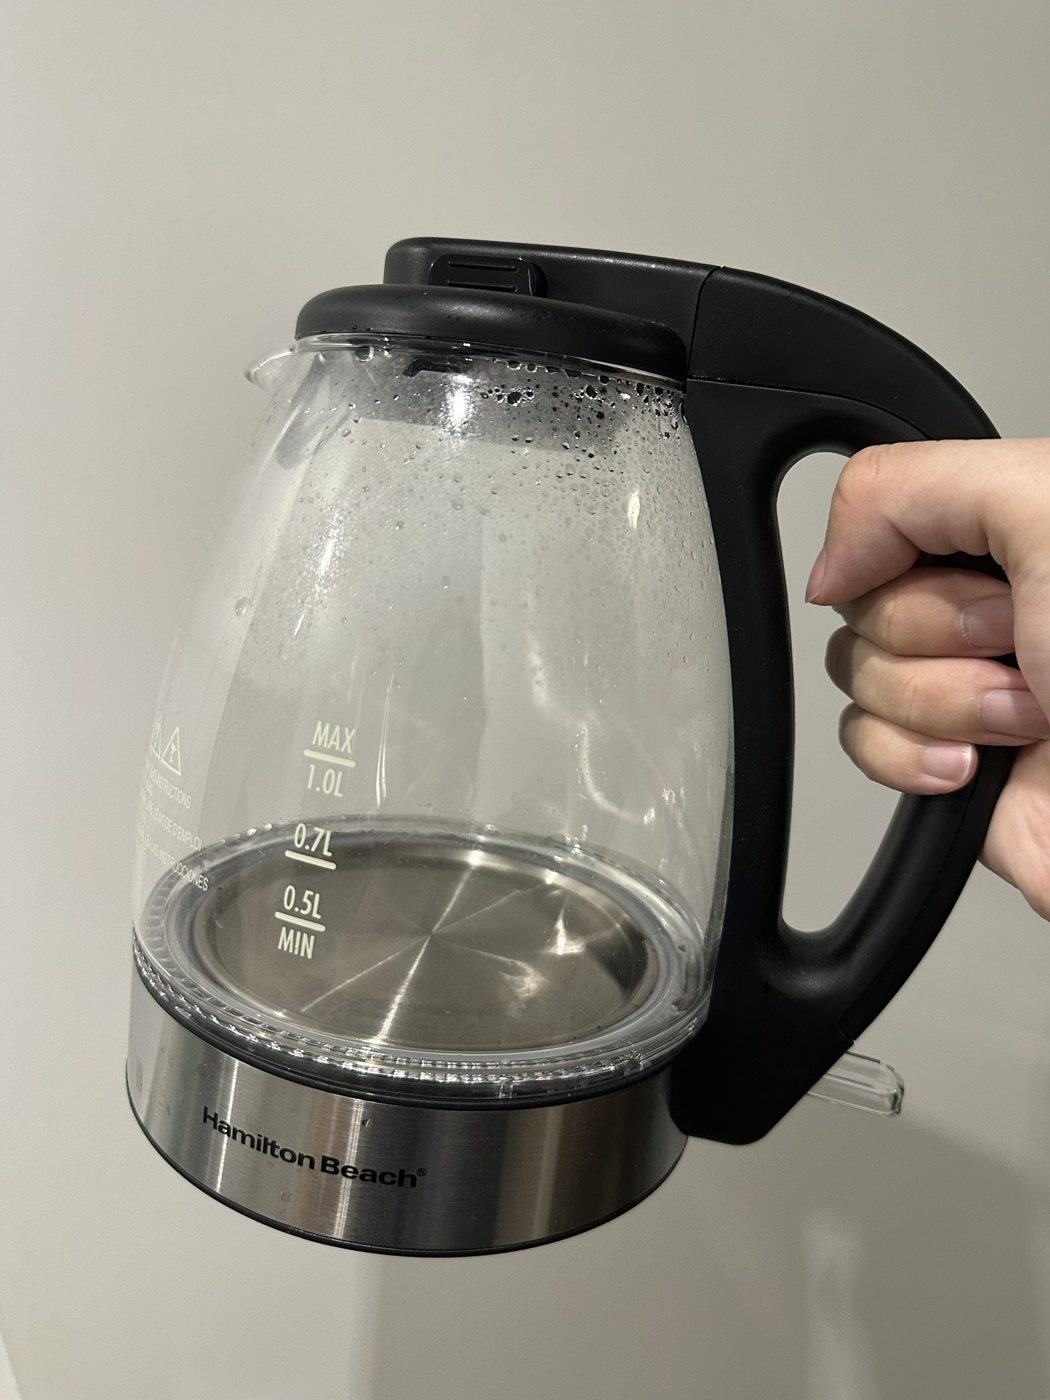
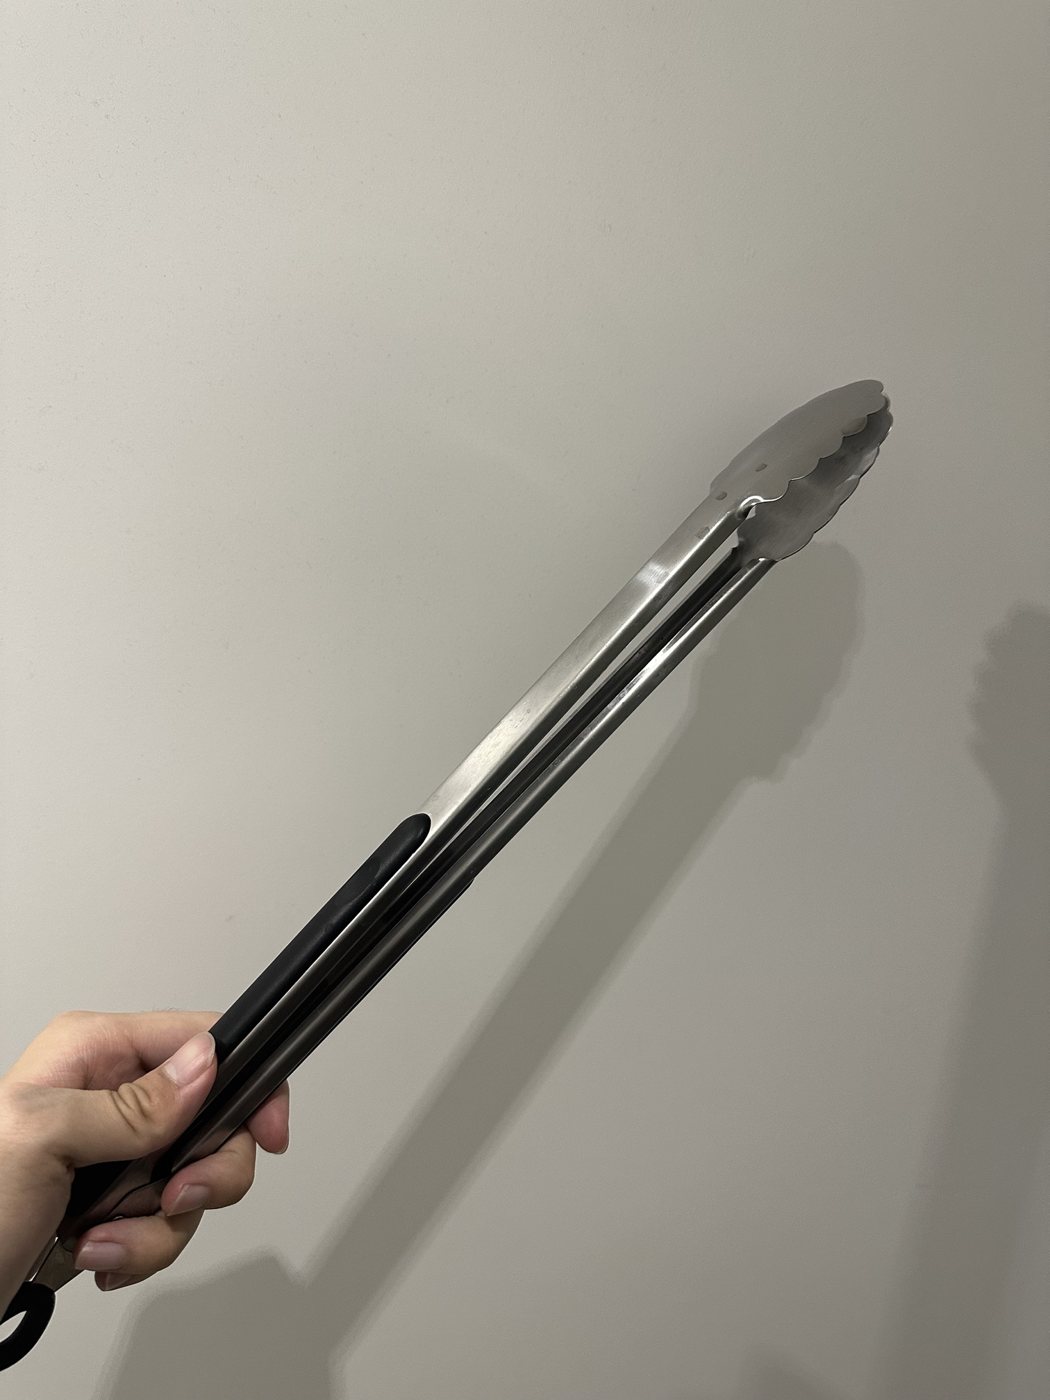
| Polymer — gaming mouse | Glass — electric kettle | Metal — kitchen tongs | |
|---|---|---|---|
| State | Refined — injection-moulded plastic | Refined — moulded heat-resistant glass | Refined — formed stainless steel |
| Plasticity | Rigid shell; the buttons flex slightly under a click | Rigid and brittle; it would crack rather than bend | Rigid arms joined by a springy hinge |
| Use | Tool — computer input | Tool — boiling water | Tool — cooking and serving |
| Colour | Matte white with a blue accent on the wheel and logo | Transparent — you see straight through to the steel base | Brushed silver, black grips |
| Surface texture | Smooth and matte, slightly soft to the touch so it doesn’t slip | Smooth and glossy; condensation beads on the inside | Fine brushed grain along the length; scalloped edges at the tips |
What I noticed: none of the three is a single material. Each one puts a second material exactly where a hand touches it — a rubber scroll wheel on the mouse, a plastic handle on the glass kettle, silicone grips on the steel tongs. The main material is chosen for the job (glass so you can see the water, steel so it survives heat), and the second one is chosen for the person using it.
Project 1
Published 3D Models
Three models built in Blender and published to the web as glTF binary (.glb) with Google <model-viewer>. Full pipeline each time: geometry, materials, export with textures, import into a publishing tool.
▶ Open the interactive models · Read the Module 1 process documentation
Published 3D Model 1 — Donut
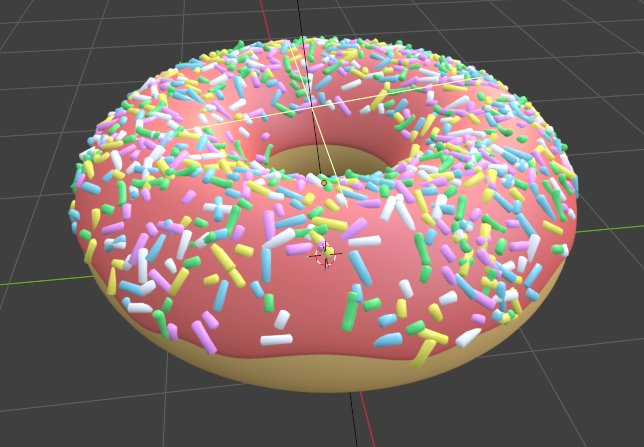
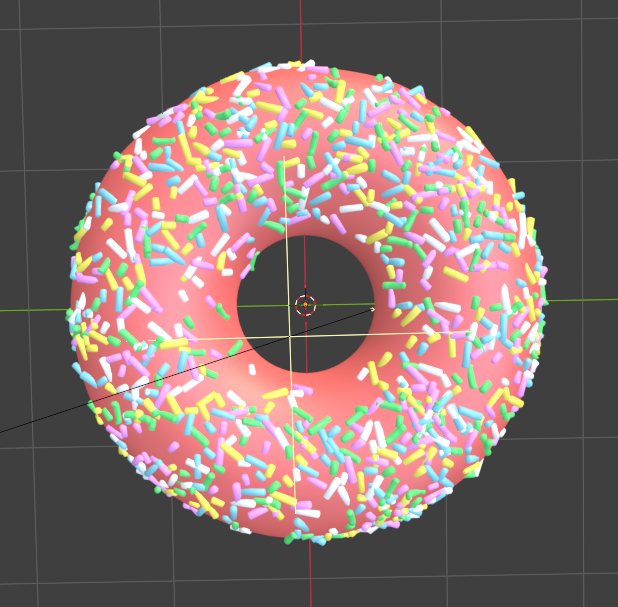
Torus body with a second torus for the icing. The sprinkles are real geometry, not a texture: fourteen sprinkle shapes scattered with a particle system, then made real — about 800 sprinkles in five colours. 124,800 triangles, 2.3 MB.
Published 3D Model 2 — Dustbin
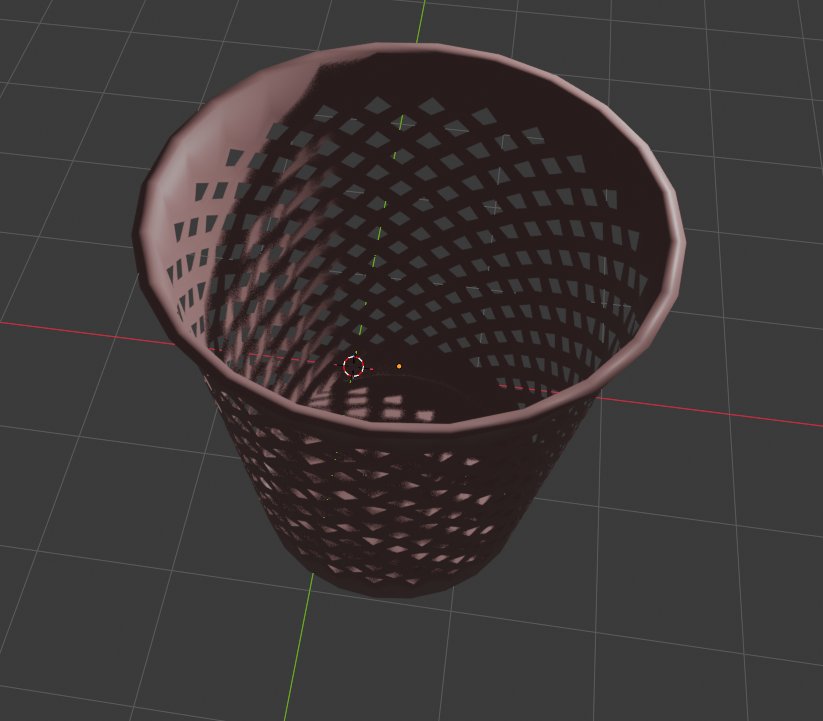
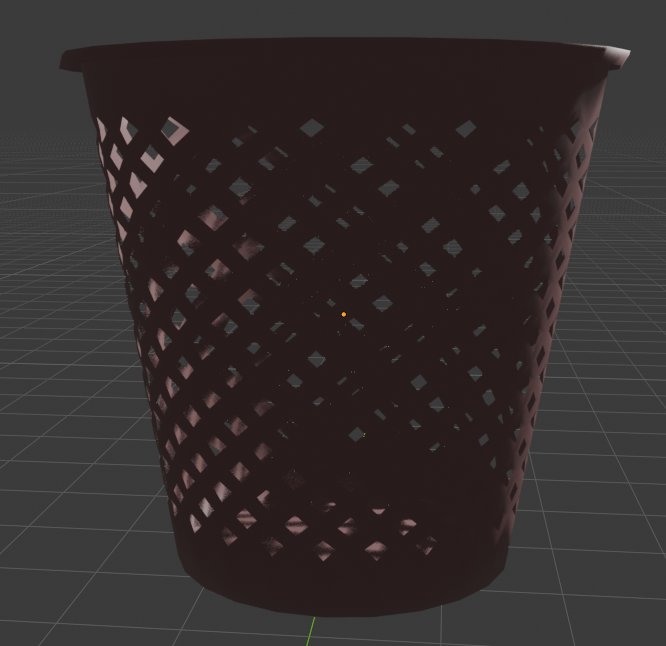
Revolved from a single cylinder profile, the same approach as the supplement bottle in Design Challenge 1, then perforated — the diamond openings are real cut geometry, not a texture. 3,672 triangles, 77 KB, still the lightest of the three by a wide margin.
Published 3D Model 3 — Croissant
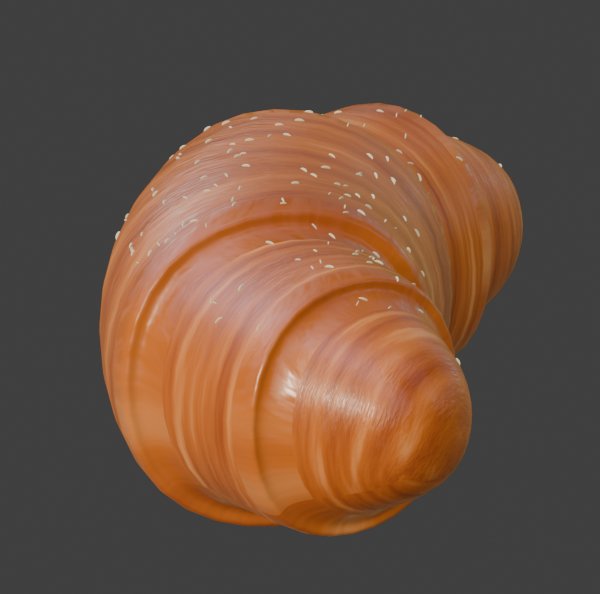
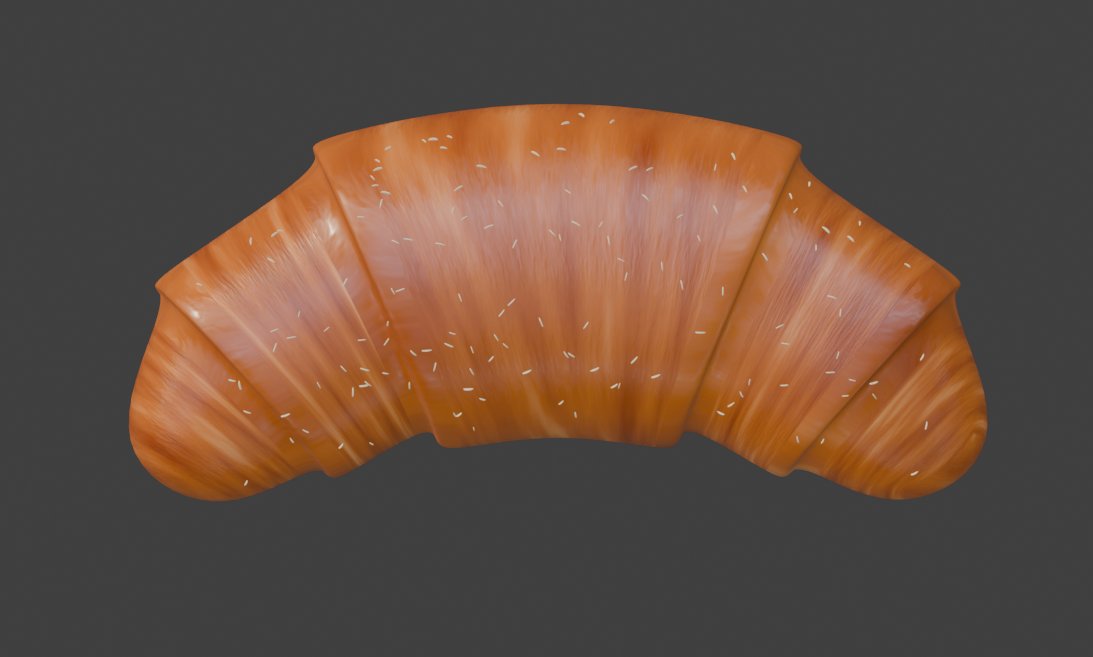
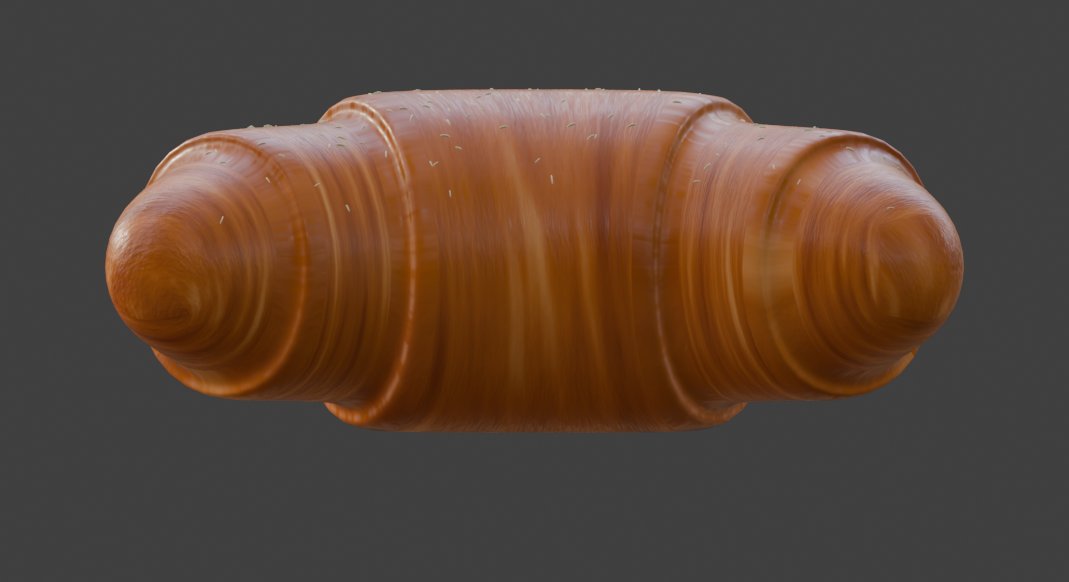
The one that needed the full texture pipeline. The layered procedural shader could not survive glTF export, so the surface was UV unwrapped and baked to three maps — base colour, normal and roughness. The sesame seeds started as hair particles, which glTF does not export, and were converted to mesh first. 222,464 triangles, 7.0 MB.
Powered by w3.css